How to resize photos for Project Life
In case you were wondering how I made the collage in yesterday’s post I will share some tips from my Project Life by Stampin’ Up! #PLxSU presentation for the Unite and Excite event #uniteexcite this week.
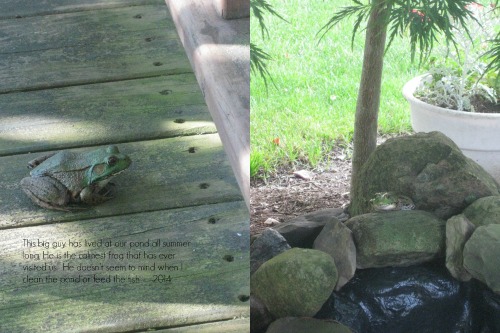
Here’s a cute photo that I can print as 4×6″, all ready to cut into 3×4 pictures for the smallest size of Project Life Pockets.
Today’s Tips:
How to get two 3×4 photos from one 4×6 print.
Go to Picmonkey.com (it’s free)
- Choose the collage feature from the top panel.
(If photos need editing use the edit feature first.)
- Add 2 photos to the collage from computer file.
- Pick Layouts from left panel – Ducks in a row – 2.
(Rotate if needed).
- Change the pixels (under collage) to 1200×1800
Or 1800×1200 (enter) depending on orientation.
- Go to the pallet at left and change spacing to 0.
- Save, print at 4×6.
- If you want to add text, choose Edit (top), Text (left).
No Comments »
No comments yet.
RSS feed for comments on this post.
Leave a comment
Line and paragraph breaks automatic, e-mail address never displayed, HTML allowed: <a href="" title=""> <abbr title=""> <acronym title=""> <b> <blockquote cite=""> <cite> <code> <del datetime=""> <em> <i> <q cite=""> <s> <strike> <strong>