How to Make an Easter Shaker Card
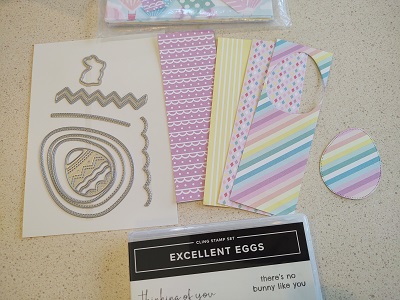
I’ve been in the mood lately to make shaker cards – especially when I saw the large egg die in the Excellent Eggs bundle by Stampin’ Up!
Heads up – Excellent Eggs is retiring soon!

I love the shaker circles – they are tiny and shiny!

Here’s a reminder on how to make a traditional shaker card:
- Adhere a piece of window sheet to the back of your front panel. Be sure adhesive is all around so there are no gaps – I used a thin line of liquid glue.
- Go around your cut out shape with Adhesive Strips – again leaving no gaps. Get it as close as you can without it showing from the front.
- Add your shaker elements.
- Remove the strip backing and add your stamped or DSP backing sheet.
- Attach the entire piece to a card base.
- Embellish card front as desired – I used a baker’s twine bow.
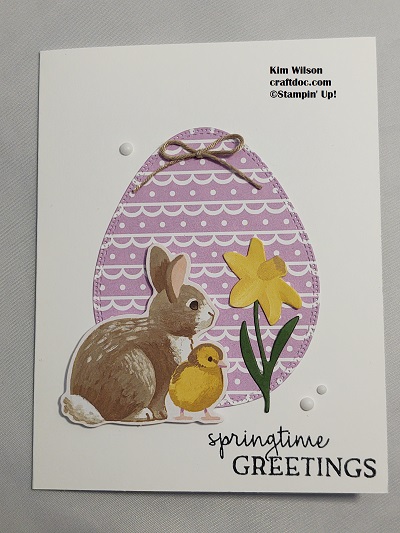
Of course, I couldn’t waste the egg die cut from the shaker card. Here I embellished it with leftover pieces from my February Paper Pumpkin kit. The refills are up right now in the store if you want to grab one – link below.
I also had some leftover scraps of Lighter than Air Designer Series Paper, perfect for some smaller eggs.
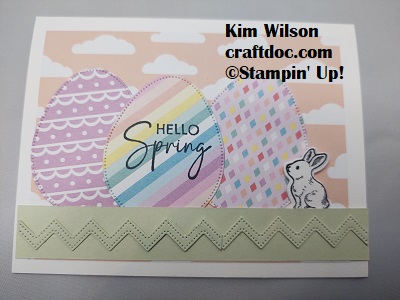
The zig zag is just one of the dies for decorating the eggs, but here I used it for my grass.
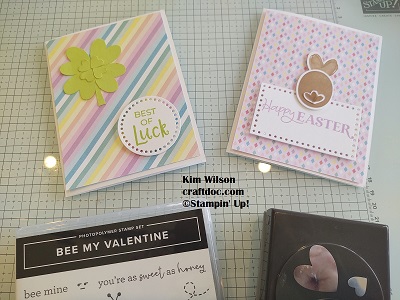
And last for this series, I used the Bee My Valentine bundle to make both a shamrock card and a bunny card. Supplies are listed below. Happy Easter!
And happy crafting,
Kim Wilson
Product List")
")


 Designer Series Paper")

")
")


")
No Comments »
No comments yet.
RSS feed for comments on this post.
Leave a comment
Line and paragraph breaks automatic, e-mail address never displayed, HTML allowed: <a href="" title=""> <abbr title=""> <acronym title=""> <b> <blockquote cite=""> <cite> <code> <del datetime=""> <em> <i> <q cite=""> <s> <strike> <strong>