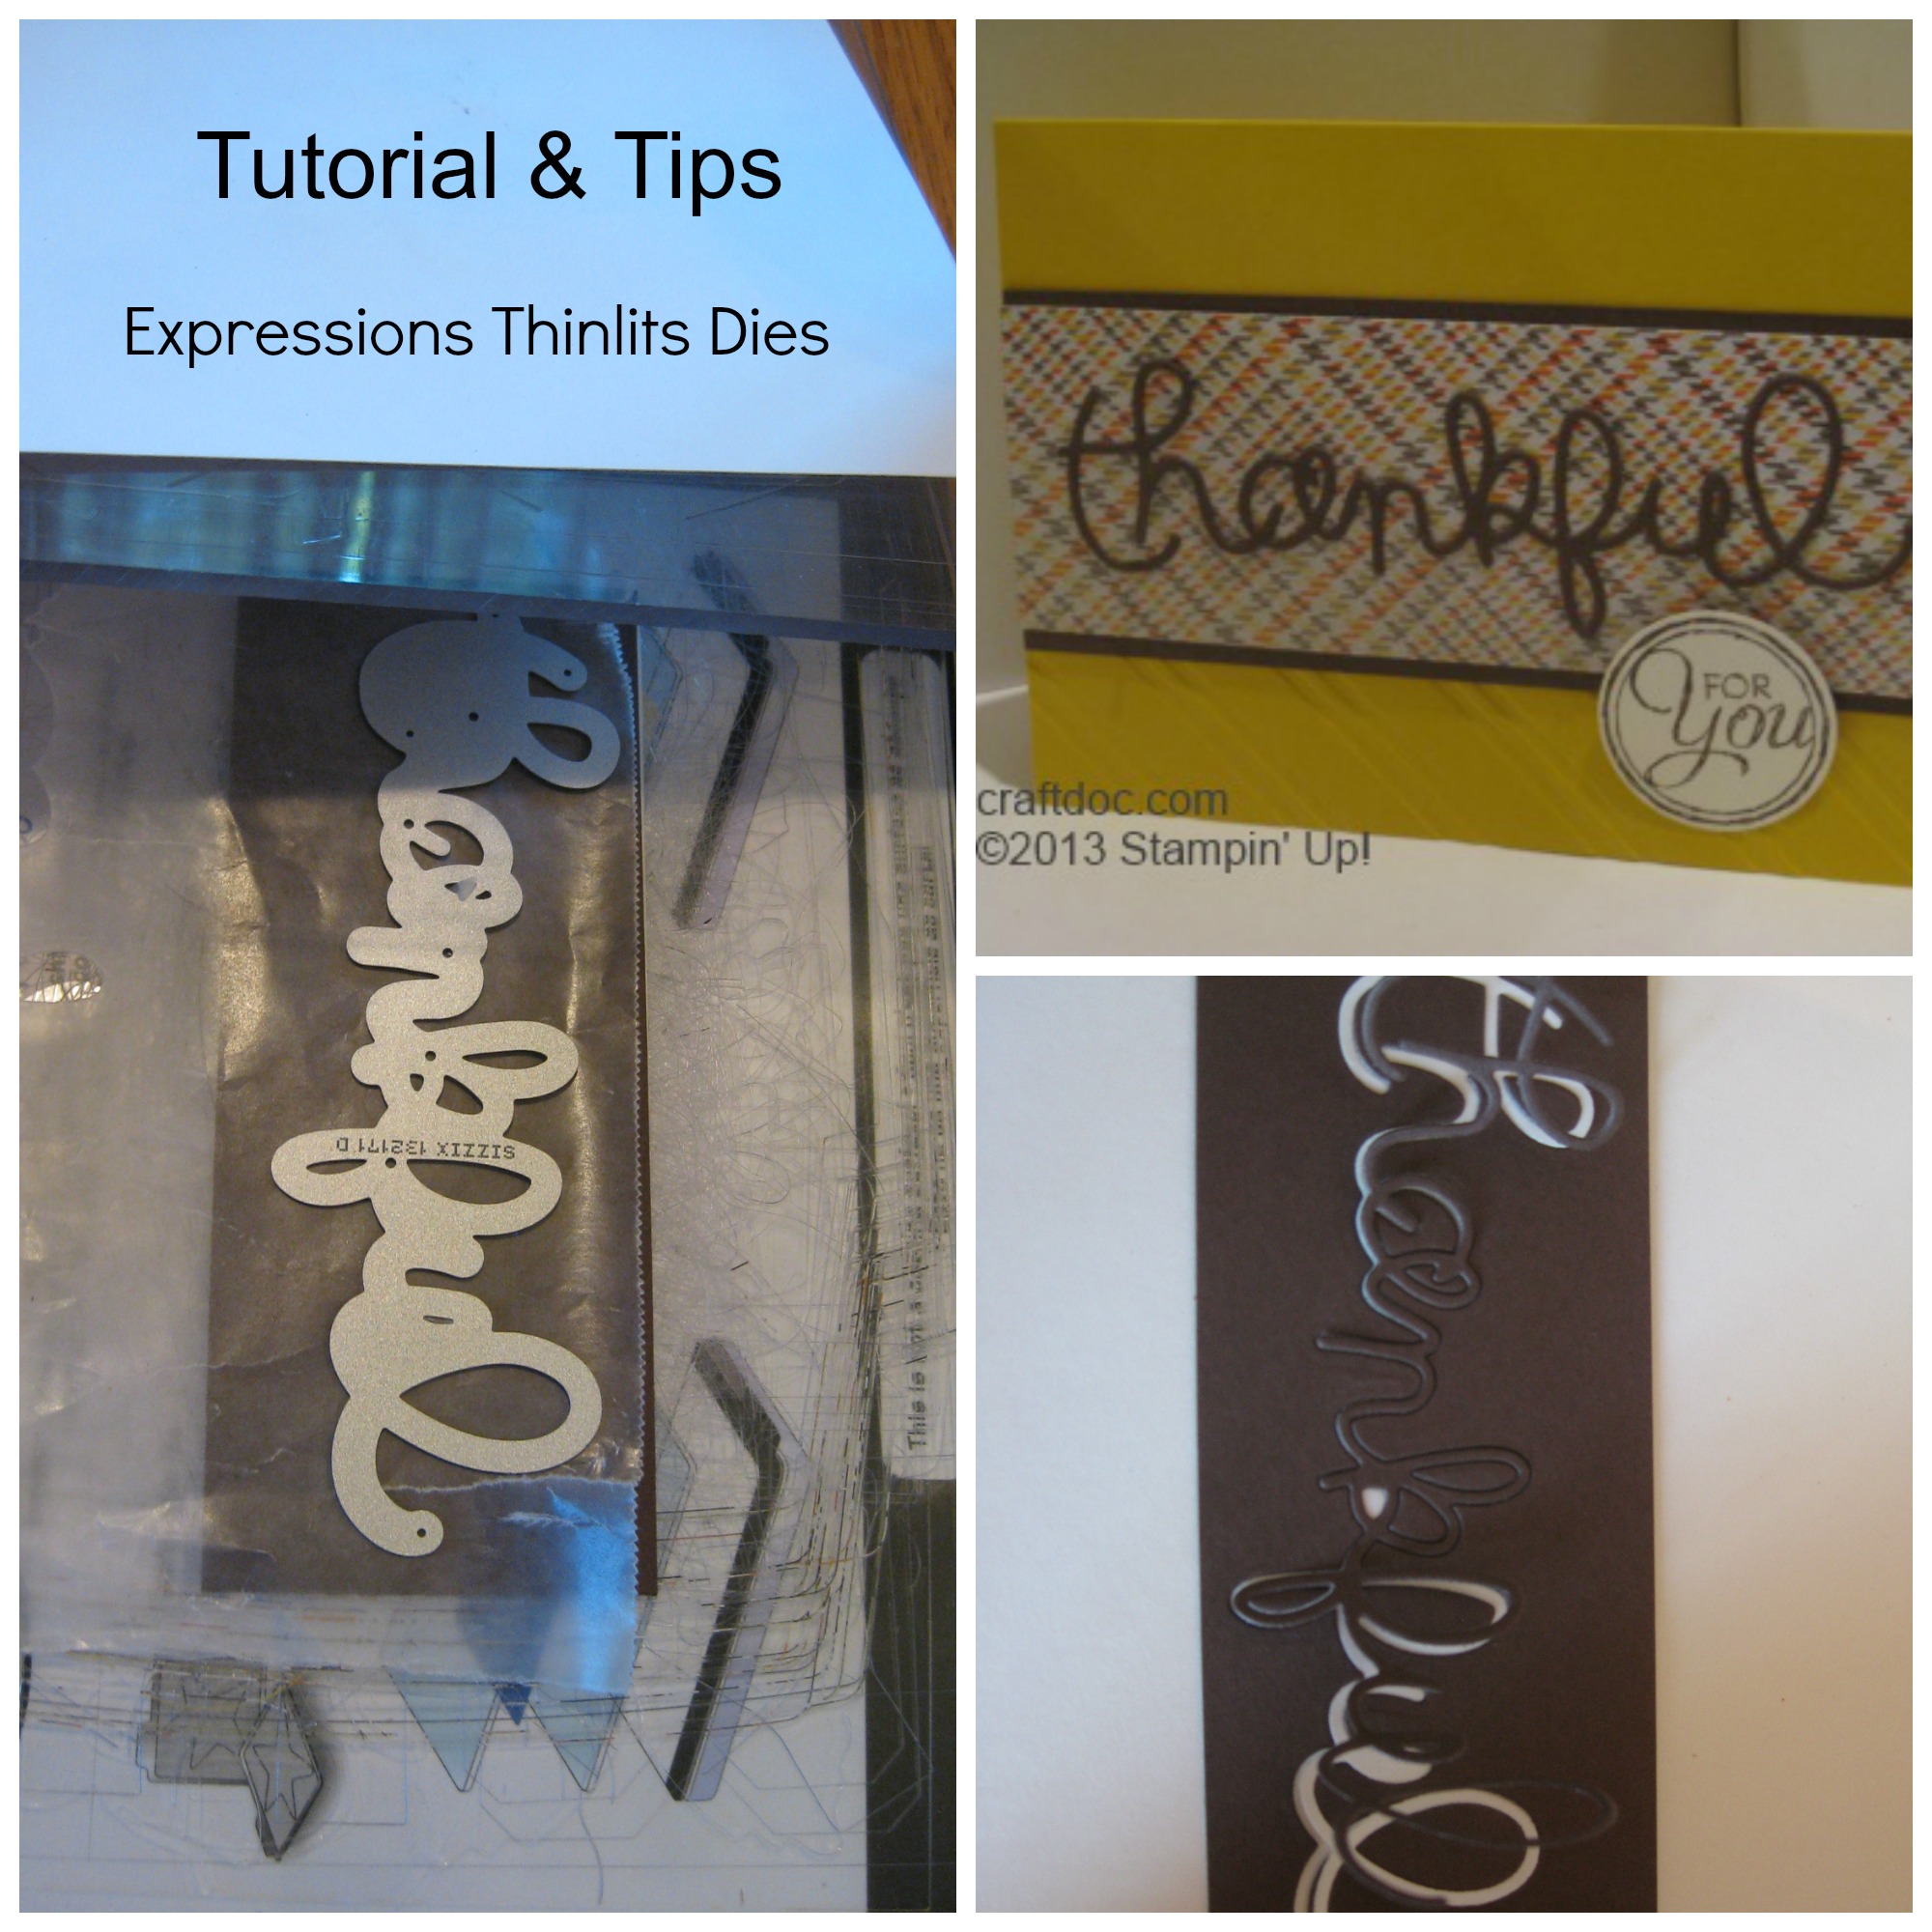
Expressions Thinlit Dies Tutorial
We used the new Expressions Thinlits by Stampin’ Up! at my last class. They are so cool! I’m going to share some tips to help you with the fragile die cuts.
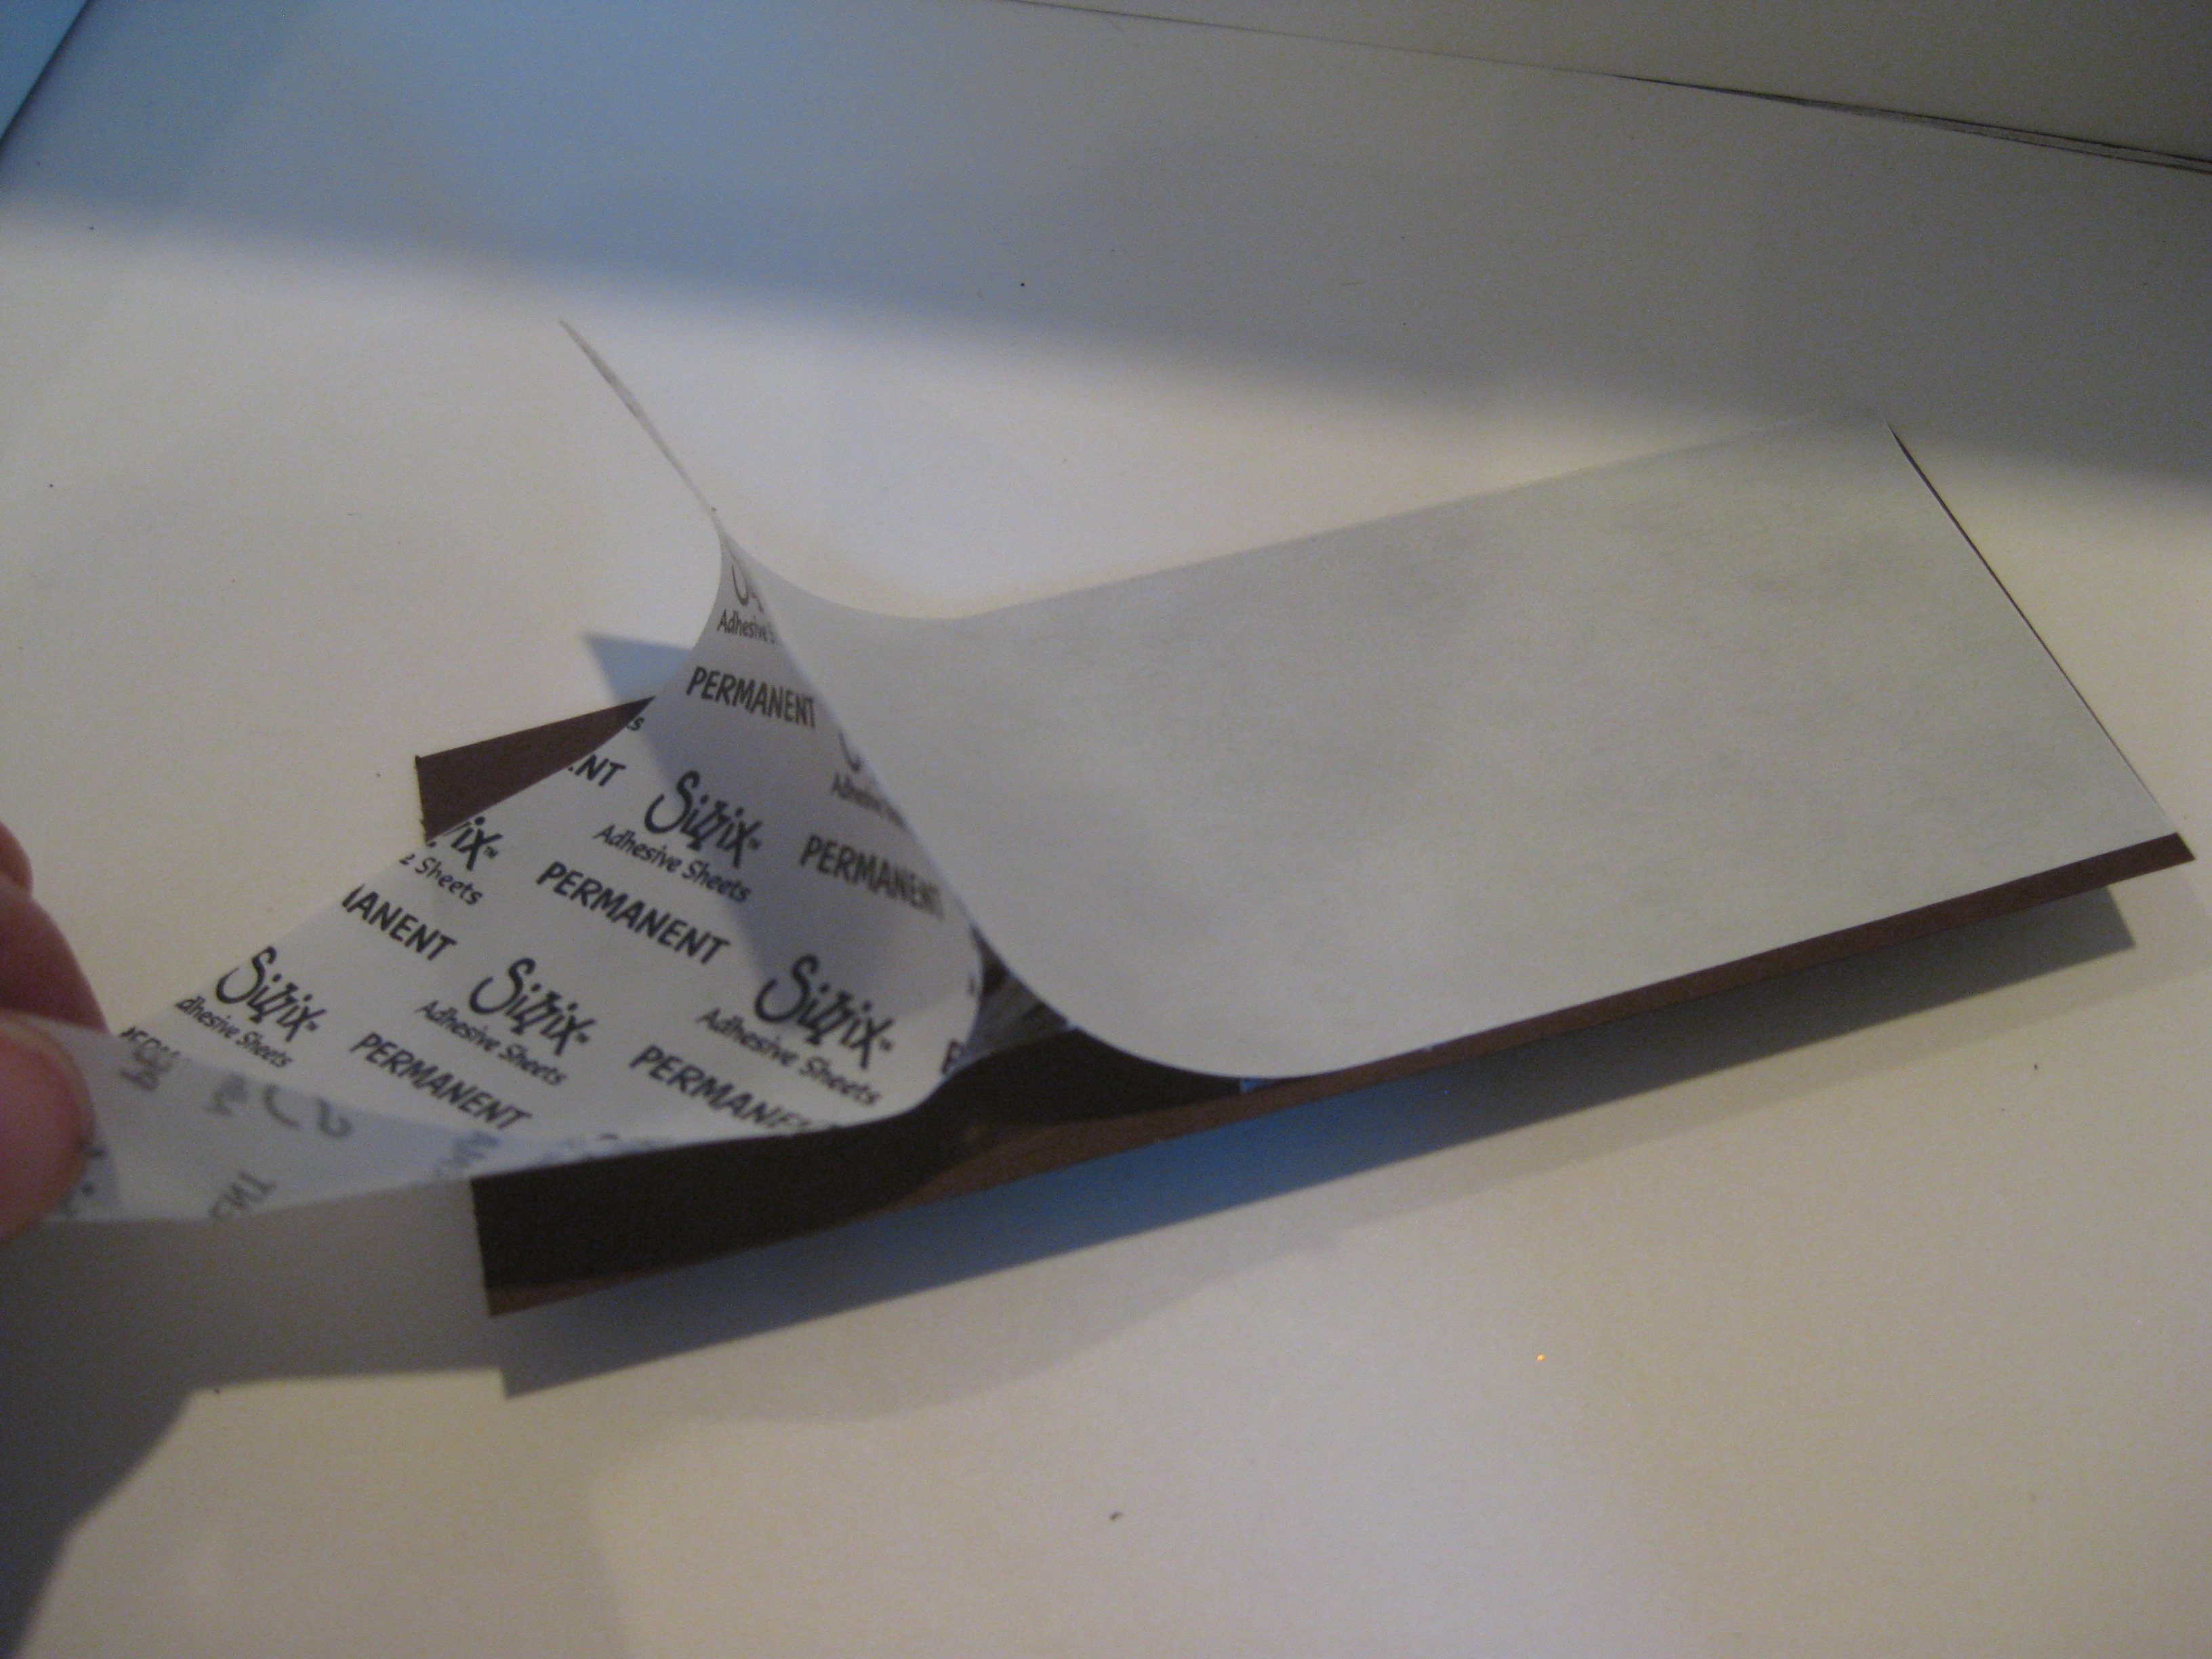
1. Adhere your cardstock or designer paper to a multipurpose adhesive sheet (SU catalog p.174). You can either cut the same size as your cardstock, as pictured here OR adhere a whole sheet of cardstock and then cut into strips.
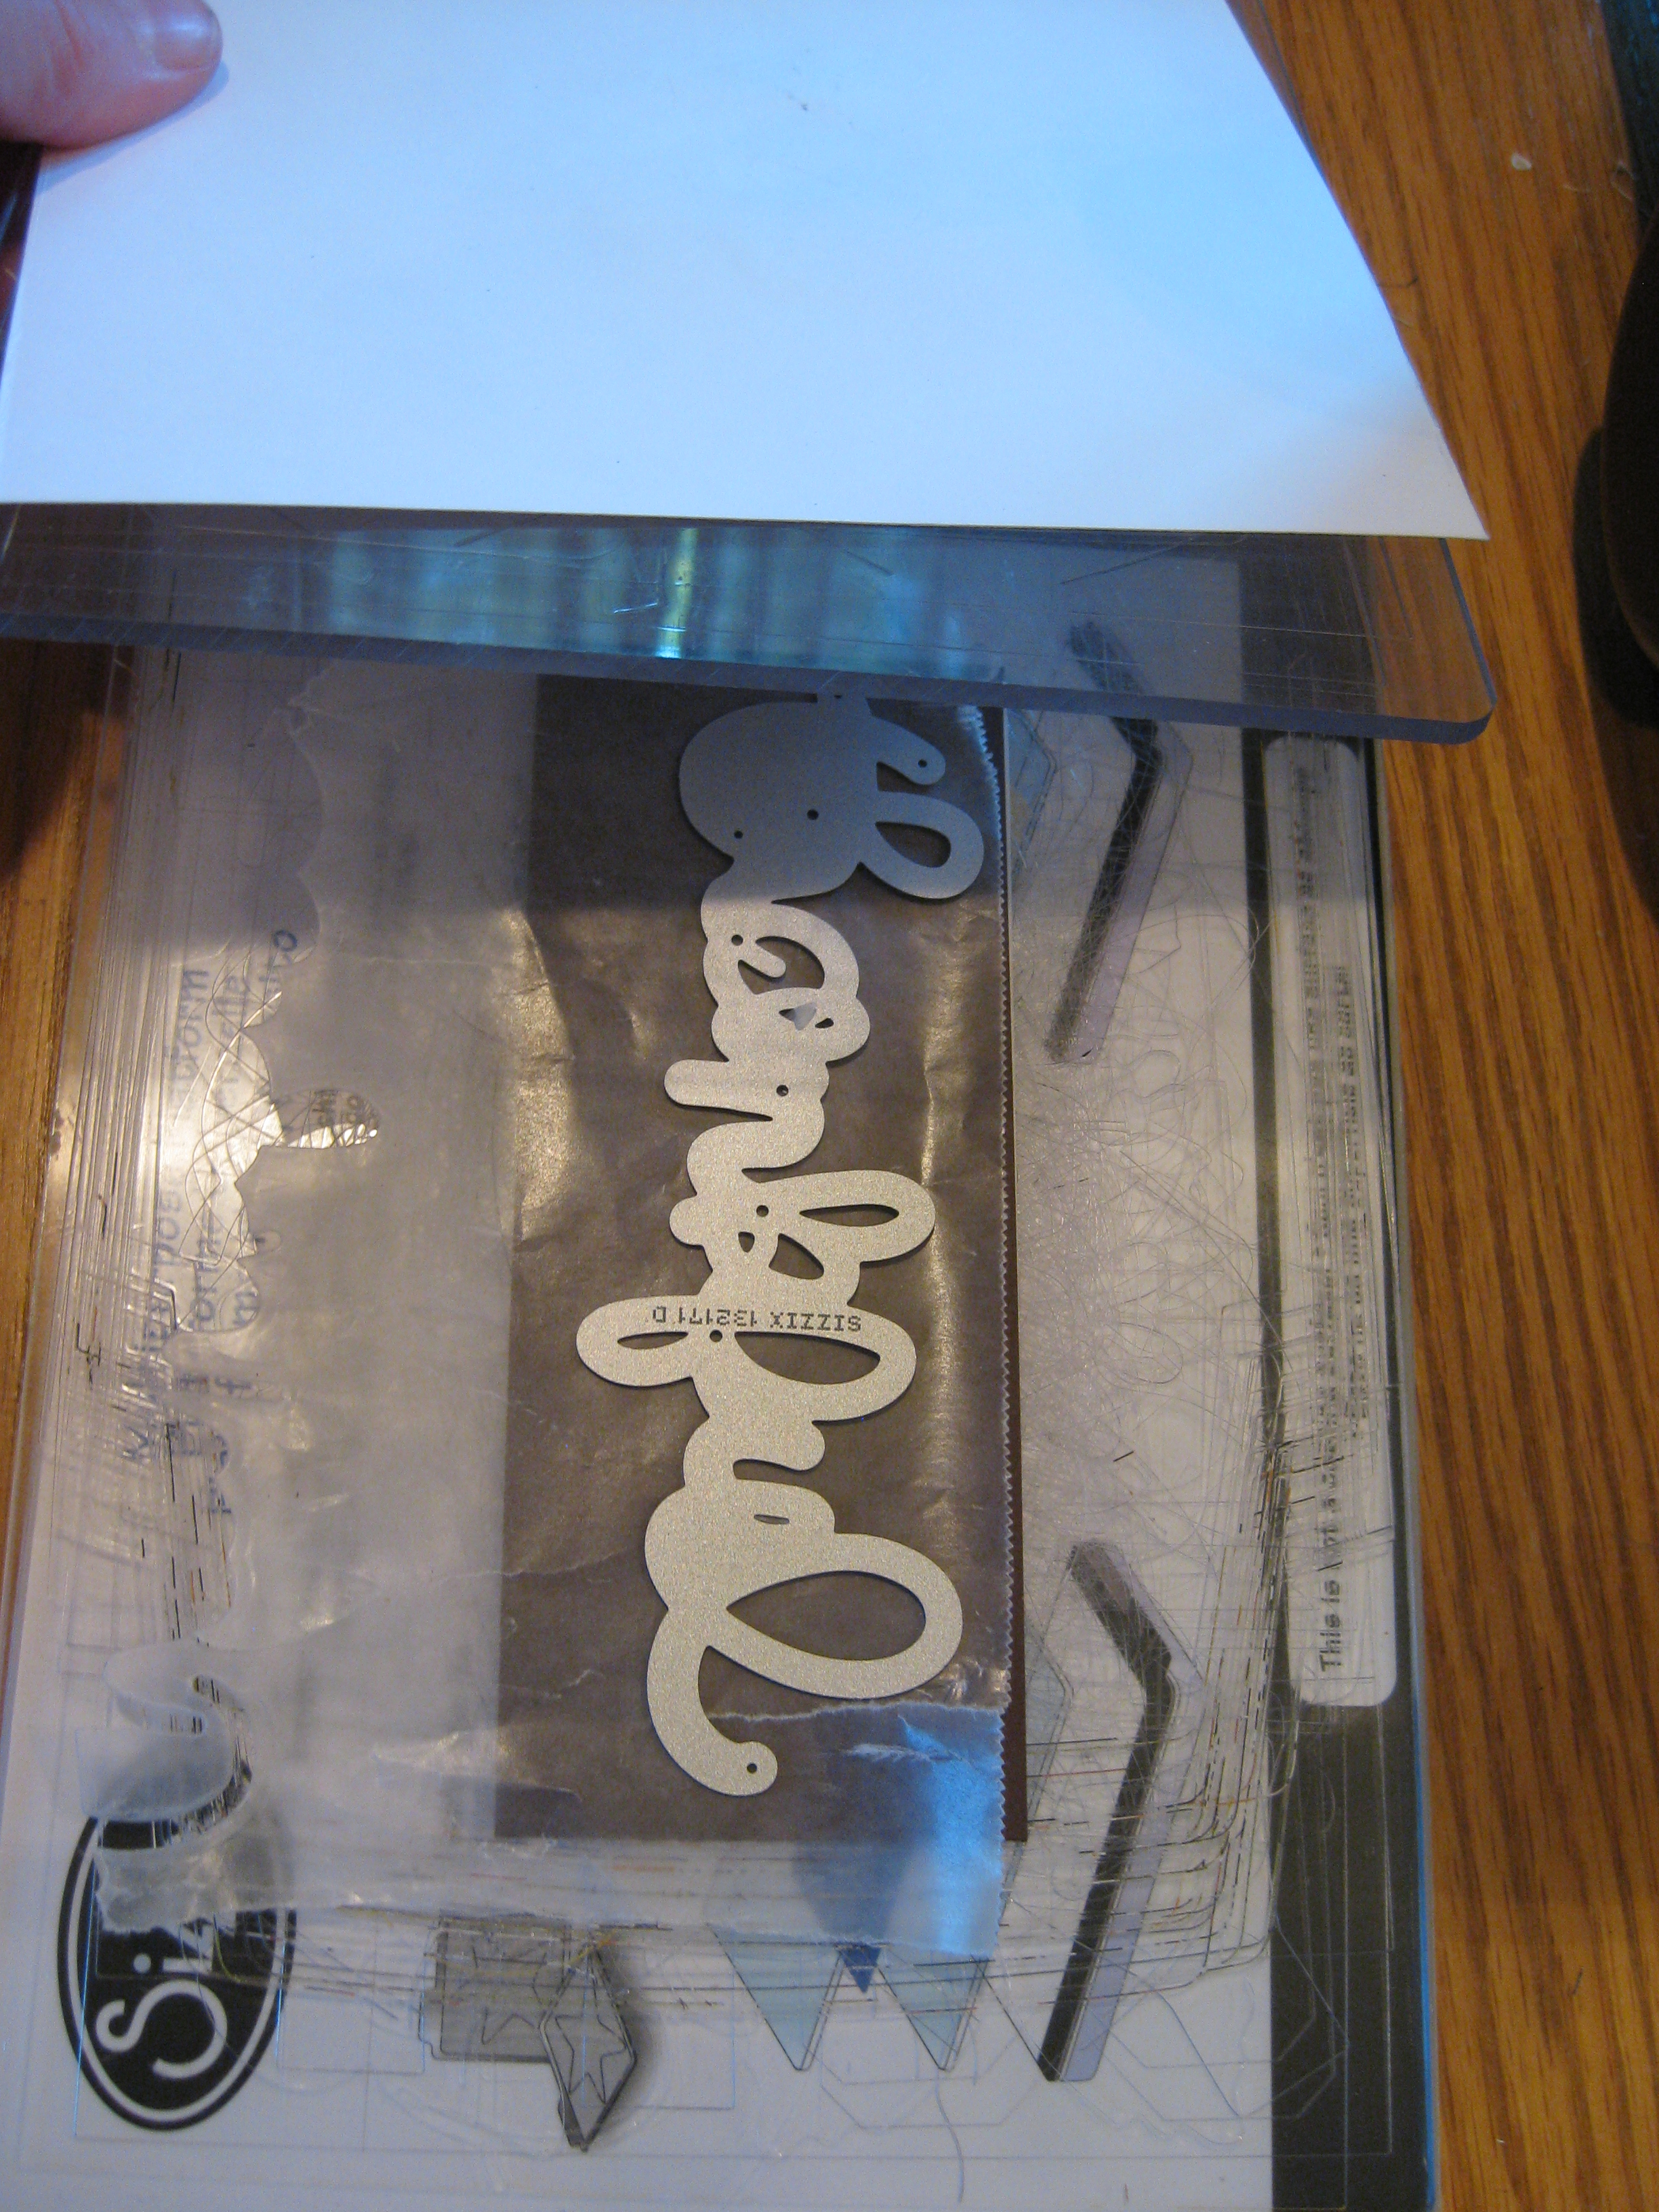
2. Create your sandwich from bottom: multipurpose platform with all tabs OR magnetic platform, cutting pad, cardstock with multipurpose adhesive sheet facing down, piece of waxed paper, thinlit die, cutting pad, piece of thin cardstock for shim if needed. TIP: The waxed paper will help the cardstock pop out from the die. The shim (if needed) will help give a better cut if you are having trouble.
3. Gently pull up the die cut – it will have the adhesive on the bottom. Try to leave the white backing sheet behind as you are pulling.
Tip: Use the negative for another project!
Tip: Use your paper piercing tool to help poke out any stubborn pieces. IMPORTANT: Clean all the waxed paper pieces out of your die after each use (use the piercing tool again), or it will stop cutting cleanly.

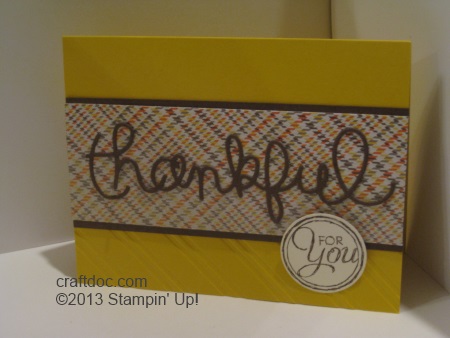
For this card I also used: Chalk Talk stamp set, Sweater Weather DSP, Stylish Stripes Embossing Folder, Chocolate Chip and Crushed Curry Cardstock. All products can be purchased at my online store www.kwstamps.stampinup.net Other words in the expressions thinlits set are : love and merry.
No Comments »
No comments yet.
RSS feed for comments on this post.
Leave a comment
Line and paragraph breaks automatic, e-mail address never displayed, HTML allowed: <a href="" title=""> <abbr title=""> <acronym title=""> <b> <blockquote cite=""> <cite> <code> <del datetime=""> <em> <i> <q cite=""> <s> <strike> <strong>