“It’s Not A Joke” BLOG PARTY
You are invited to my “It’s Not A Joke” BLOG PARTY
(It’s finally, sort of spring around here – no foolin’)!
WHEN: April 1-5
WHERE: Here on my blog (ALSO April 5th at my house – Girls Night Out- 7-10 – Please RSVP)
WHAT: Fun Projects and Prizes
Starting with the Prizes:
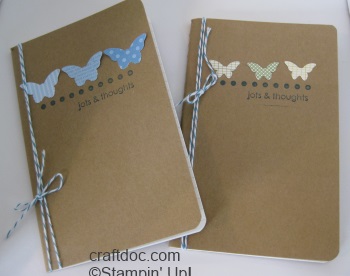
1. For commenting on an April 1-5 post: I will choose one person to receive a Jots and Thoughts Journal made with stamps from the My Paper Pumpkin Try It Kit. You can purchase extra journals from Target or from Amazon – just look for “Moleskine Cashiers Notebooks”. Here I used some of the extra stickers on one notebook (right) and the bitty butterfly punch on the other. You can get a pkg of Island Indigo Baker’s Twine for $2.95 and make lots more notebooks with your kit!
2. For ordering April 1-5 at www.kwstamps.stampinup.net and using Hostess Code WNH2CB3N
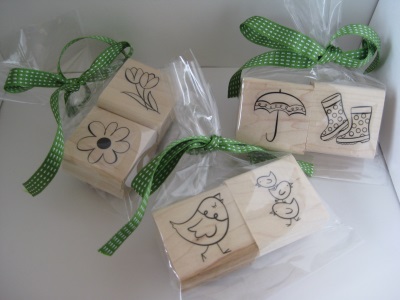
For each $20 order, get one chance at winning a prize! The first prize winner gets your choice of a pair of incentive stamps. These are only available to demonstrators, so you won’t find them anywhere else! If I get enough orders to make a party, their will be more prizes. It is important to use the CODE. A box will show up at the bottom of your screen after you enter your first item in the order. Attendees that order at the “Girls Night Out” on April 5th will also be eligible to win. The event is Free – bring your own project – I will have some kits available for purchase.
Now for the Projects – Day 1 – April 1 – MDS FREEBIE
Everyone can make these projects for FREE.

1. Download your FREE 30 day trial of My Digital Studio at my online store www.kwstamps.stampinup.net
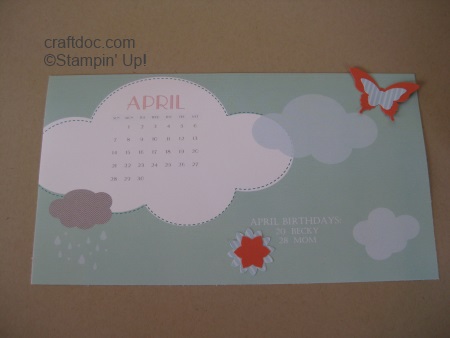
2. Download the FREE April Showers Calendar Page #133473
3. For the large birthday calendar, choose 8 1/2 by 11 landscape for your project. For the card fronts, choose 4-1/4 x 5 1/2 card. NOTE: TO USE THE QUICK PRINT OPTIONS TO PRINT MULTIPLE CARDS ON ONE PAGE, CHOOSE A DESIGNER TEMPLATE, NOT CUSTOM and just delete the pages you don’t need.
4. The calendars will be under “embellishments” – the flower icon in your left panel.
5. For the birthday calendar, I used the bottom one. For the cards, the second one.
6. Make a text box to add your birthdays or greeting. Choose a fun font and enlarge the text as needed. I changed the text color to White.
7. Print the birthday calendar and add some butterflies.
8. Print the card fronts and add to a folded piece of cardstock with some added flowers.
HINT : There is a new feature in PRINT that lets you put 4 cards on 1 sheet of paper. It’s right at the bottom of the options page – just click!
If you tried this project – please post a comment.
Come back tomorrow for Day 2 of the Blog Party!
No Comments »
No comments yet.
RSS feed for comments on this post.
Leave a comment
Line and paragraph breaks automatic, e-mail address never displayed, HTML allowed: <a href="" title=""> <abbr title=""> <acronym title=""> <b> <blockquote cite=""> <cite> <code> <del datetime=""> <em> <i> <q cite=""> <s> <strike> <strong>