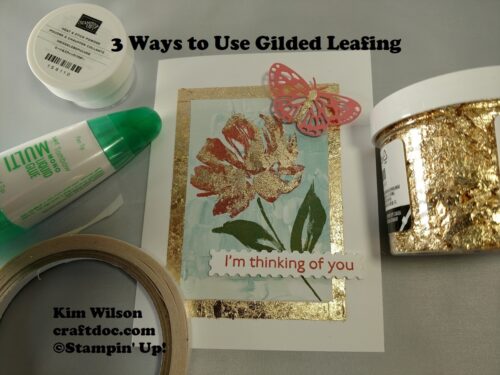
3 Ways to Use Gilded Leafing
I was a little nervous to open up my Gilded Leafing but I love it! I came up with some good tips for you to keep it less messy and more beautiful. I tried 3 different ways to use the gold leafing, all worked really well. Here’s my video on 3 ways to use gilded leafing.
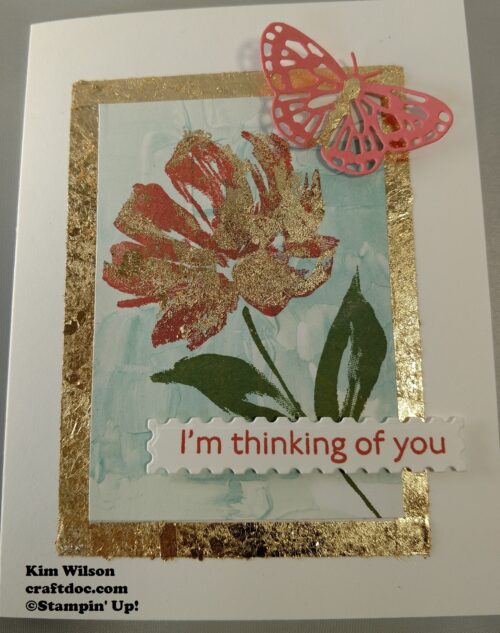
And here’s the card I made using all 3 methods. The Gilded Leafing is a lot shinier than gold embossing and also has more texture. I didn’t find it any harder than heat embossing. So if you are comfortable with that technique, give this one a try and you will be a happy crafter.
Tips for all 3 methods:
- Find a working surface for your leafing. It expands and flies everywhere so a container to hold a portion of your leafing is a must. First I tried a plastic box – too much static electricity. A cardboard box works much better. I took my embossing buddy and rubbed it on the sides and removable lid of my box just to further de-static. My box is large enough for a card and has tall sides to help keep the leafing from escaping.
- Give your surface some dry time after stamping and before adding any of the adhesives.
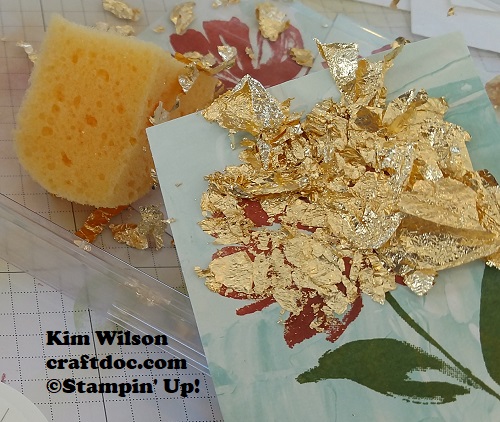
- Open your leafing container slowly! Open your box slowly! Add a layer of leafing to the bottom of the box. You will add stickiness to your project with one of the methods below. Then press it down into the leafing so it adheres well.
- Use a piece of Stampin’ Sponge to wipe off the excess leafing. Swirl gently to get off all the stray edges. Keep the sponge right in your box. A piece of dryer sheet also works well, but I didn’t like the chemical feel on my fingers.
- Heat & Stick Powder – Stampin’ Up! carried this product in the past to add glitter to stamped images. Now it’s back for the Gilded Leafing. Stamp with Versamark ink and use it like embossing powder. Heat a short time – just until it melts. It is creating a sticky surface for the leafing. I found that it did not work well on a thin surface like die-cut words because it dried too quickly for the leafing to stick. It worked great for the inside image for the Art Gallery Flower above.
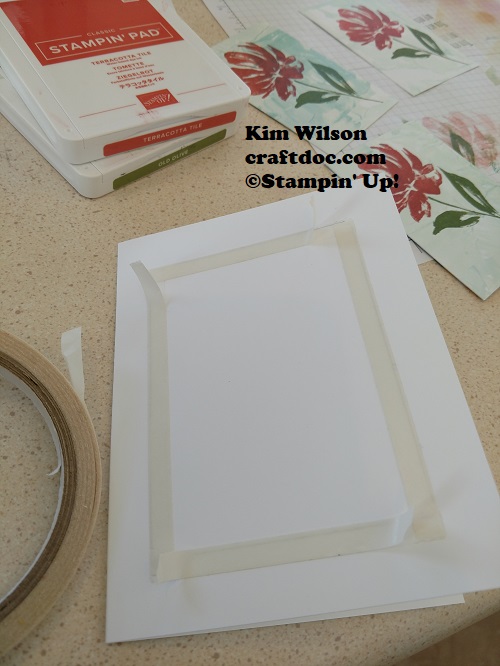
2. Tear & Tape – I used this to make a frame for around my stamped image. I penciled around the 3×4″ space and then added tape to the four sides. Remove the backing and press into your box of leafing as above.
3. Multipurpose Liquid – add a tiny bit to add accents as I did with the die cut butterfly. Spread and wipe off excess with a piece of sponge dedicated to glue. If you use your finger, be prepared to have a gold finger (don’t ask me how I know). Then press into your leafing as above.
I hope you give this fun technique a try. If you don’t have some of the products, just click on the image below to see it in my store. Thank you.
Happy crafting,
Kim Wilson
Product List


")


 Designer Series Paper")


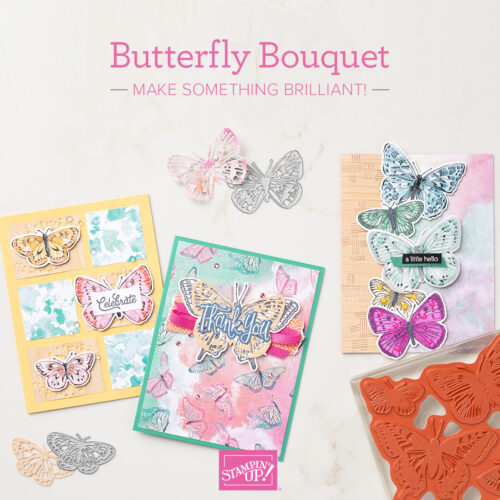
And here is where to find the Butterfly Bouquet Collection
No Comments »
No comments yet.
RSS feed for comments on this post.
Leave a comment
Line and paragraph breaks automatic, e-mail address never displayed, HTML allowed: <a href="" title=""> <abbr title=""> <acronym title=""> <b> <blockquote cite=""> <cite> <code> <del datetime=""> <em> <i> <q cite=""> <s> <strike> <strong>