Project Life Everyday Adventure
Project Life by Stampin’ Up! A revolutionary way of memory keeping. Photos and cards into pockets. It worked!
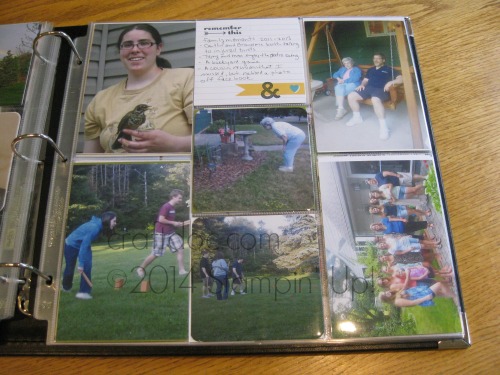
I started out with just the basics: a pile of photos and memorabilia, my 12 x12 album, pocket page protectors, card collection and journaling pens.
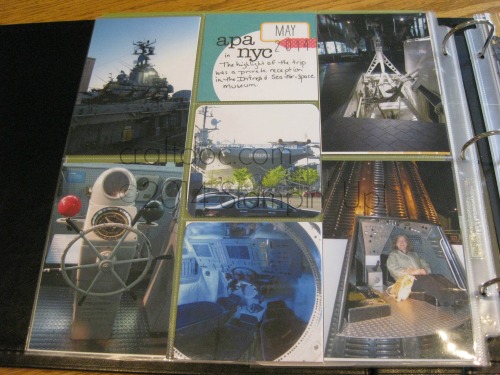
I organized the photos into groups for each page, picked the best pocket protector page for the orientation (there are 6 options) and slipped them into pockets. I added some journaling cards from my Everyday Adventure Card Collection.
That was sooo simple.
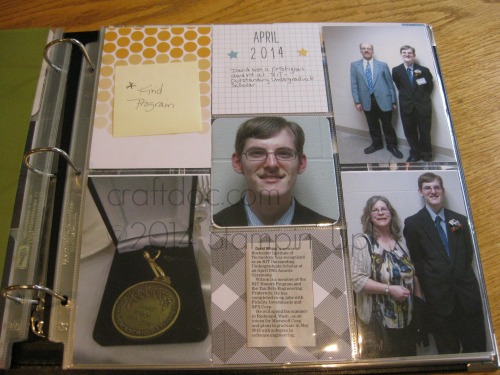
I used my Project Life journaling pens and my Project Life stamp sets to add in some titles and journaling.
I even got brave and rearranged some photos and pages (easy) and added embellishments from my Everyday Adventure Accessory Pack.
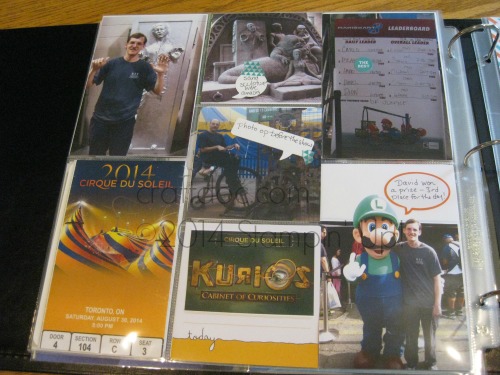
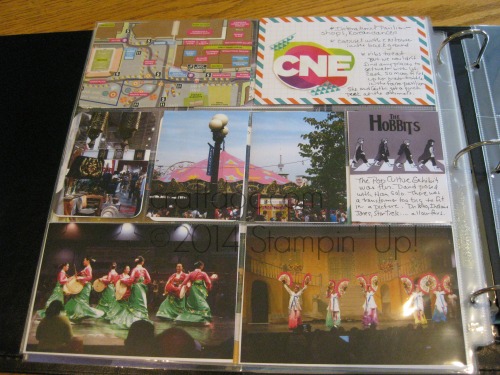
I then printed out some more photos and did pages from Labor Day weekend while it was fresh in my mind (and before I misplaced the tickets and maps from the weekend).
Today’s Tips:
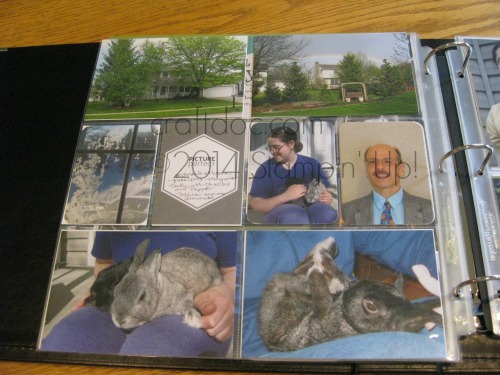
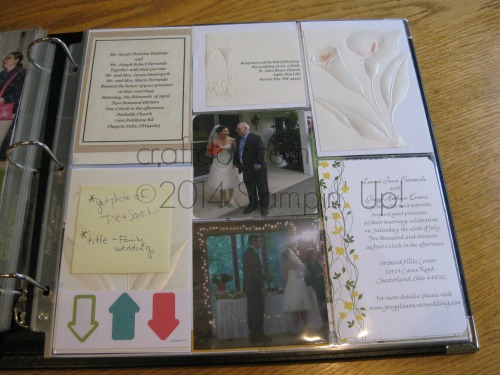
– use Post-it-Notes to hold a spot for a misplaced photo or item (page1).
-use the Cards and Labels framelits to cut photos to fit the smaller pockets (4×4 and 3×4).
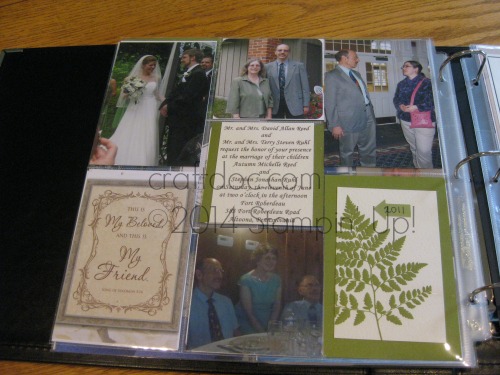
-Memorabilia – some will need to be cut down, some adhered to a card. Or use a full 6×8 or 12×12 protector for larger items.
-Yes, the 6×8 pages will fit nicely in the 12×12 books for interest.
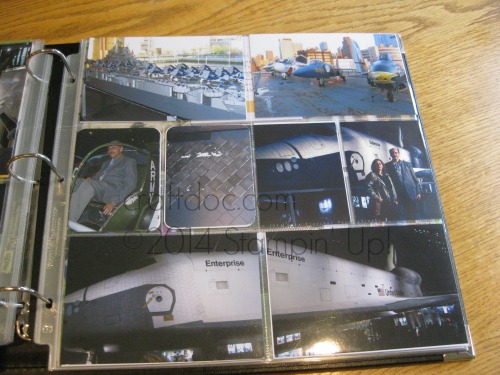
-Cut a 4×6 photo in half to fill 2 smaller pockets (page3).
-Cut a map with the Cards and Labels framelits to add to a pocket.
-The Labels framelits and the Word Bubbles framelits make nice title and journaling pieces. Attach with SNAIL adhesive or some Washi tape.

No Comments »
No comments yet.
RSS feed for comments on this post.
Leave a comment
Line and paragraph breaks automatic, e-mail address never displayed, HTML allowed: <a href="" title=""> <abbr title=""> <acronym title=""> <b> <blockquote cite=""> <cite> <code> <del datetime=""> <em> <i> <q cite=""> <s> <strike> <strong>