Burlap Bow Angel Tutorial
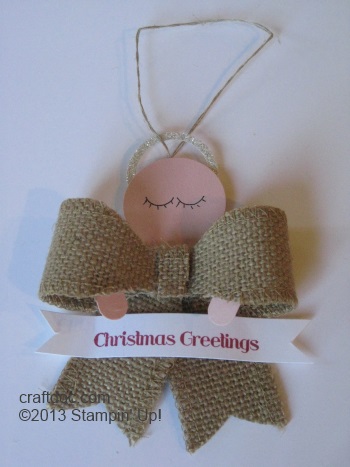
I put two together, 2 weekly deals that is, and came up with this Burlap Ribbon – Bow Die Angel!
Cut two pieces of burlap ribbon 3- 1/4″ and two at 4- 1/4″.
Make 2 runs through the Big Shot with the Gift Bow Die to get these pieces. Center the pieces, since the ribbon is not wide enough – but that’s ok – it still looks good.
You will get a bit of fraying and bits of burlap on your die, but hang in there, it’s worth it.

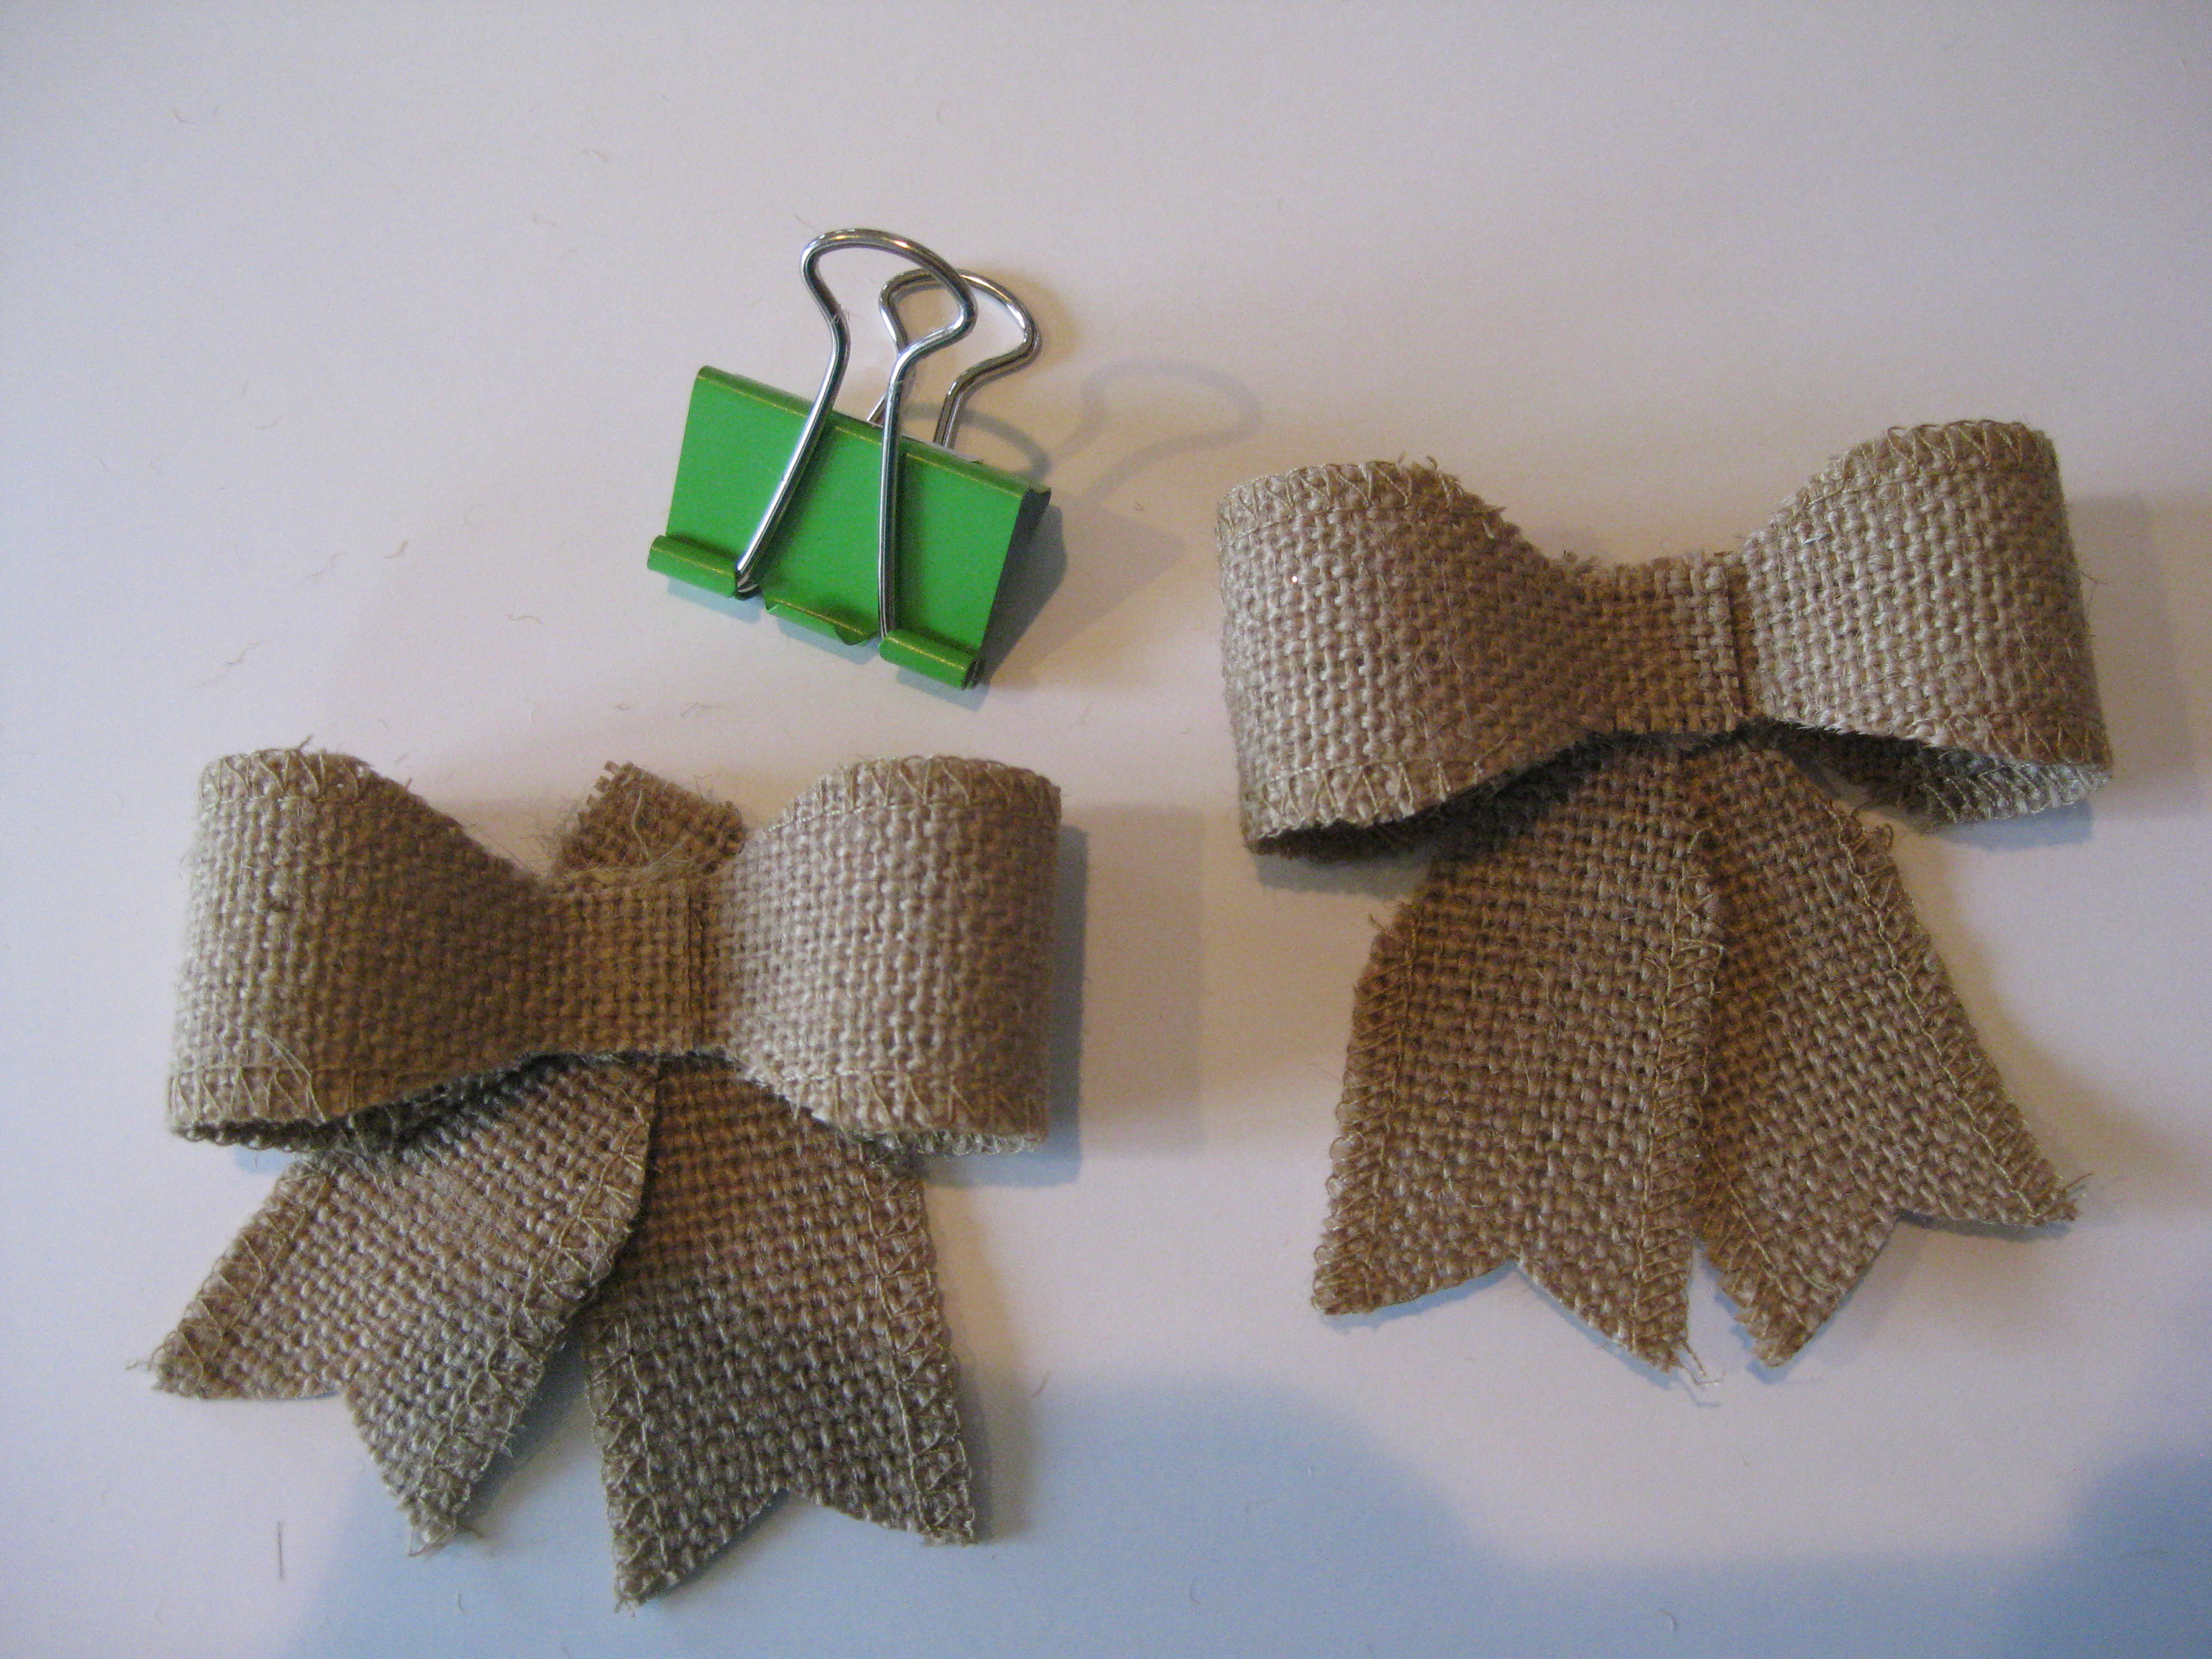
I used multipurpose liquid glue and some clips to hold the pieces together while they dried. To the right is a standard bow, the left shows the position needed to make an angel – the bow needs to be lower on the tails.
I just put a small scrap of burlap in the center of the bow, rather than a circle or wrapping it completely around.
I also used a smaller circle this time for the Blushing Bride head – 1- 3/8″ since the entire bow is a bit smaller. And I used the leftover glitter paper circles from my previous angels for the halos. Since this is a more rustic angel, the Linen Thread is perfect for the tie.
All these products can be purchased at my website using the links below. The bow die and burlap ribbon are on sale until Nov 18th under “Weekly Deals”
No Comments »
No comments yet.
RSS feed for comments on this post.
Leave a comment
Line and paragraph breaks automatic, e-mail address never displayed, HTML allowed: <a href="" title=""> <abbr title=""> <acronym title=""> <b> <blockquote cite=""> <cite> <code> <del datetime=""> <em> <i> <q cite=""> <s> <strike> <strong>