Simply Sent Mini-Album Tutorial
I saw this minialbum demonstrated at the San Antonio Regional Conference. I made one yesterday in a flash. Slightly different that she did. I put three envelopes in a line – adhered the flap on top of the envy above (the flap will be covered up). Cut 3 cards at the fold (at 4 1/4). Cut the top one inch off of the card fronts. The card back gets put into the envys as panels (she trimmed and mounted on CS – I left as is.) The one inch pieces get adhered to the bottom of the envys with the decorative edge of the other piece just on top. This now covers the flap from the envelope below. Add 3 of the stamped diecuts on top. I put another diecut on the back to hold a piece of seam binding to tie the album together. Here are some photos:

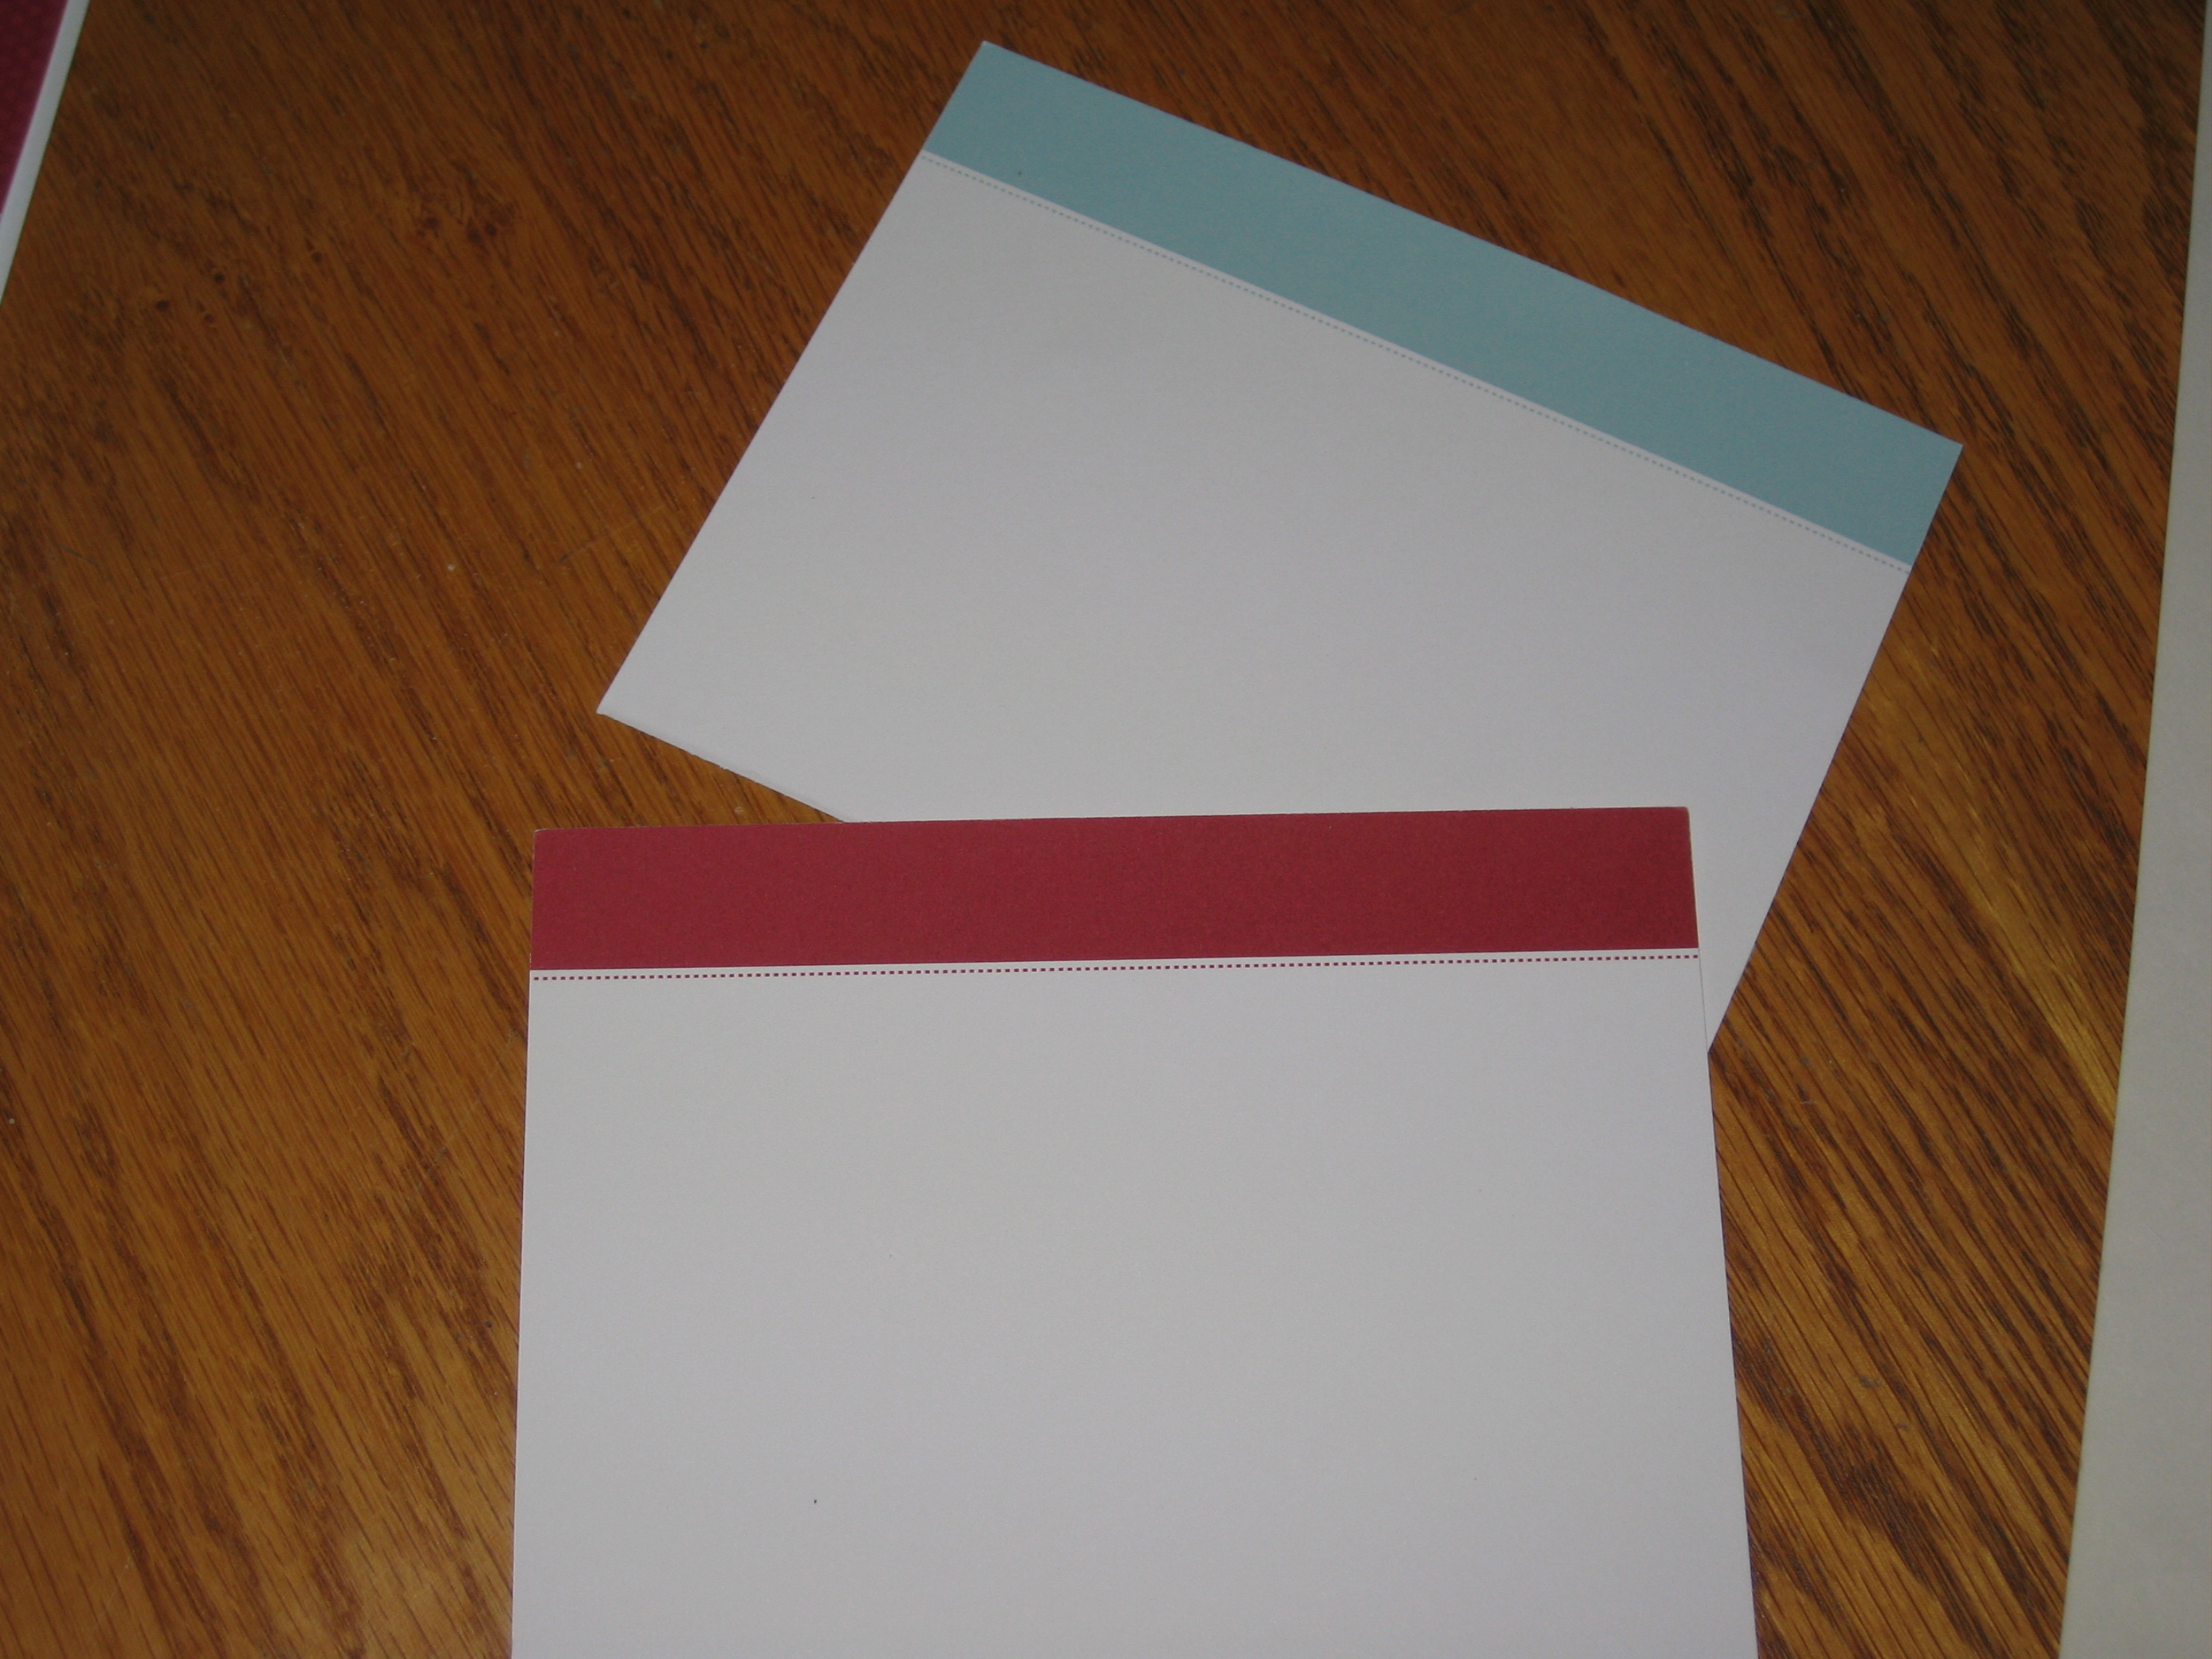
Cut 3 cards at fold line – this is the back which will become your inserts.
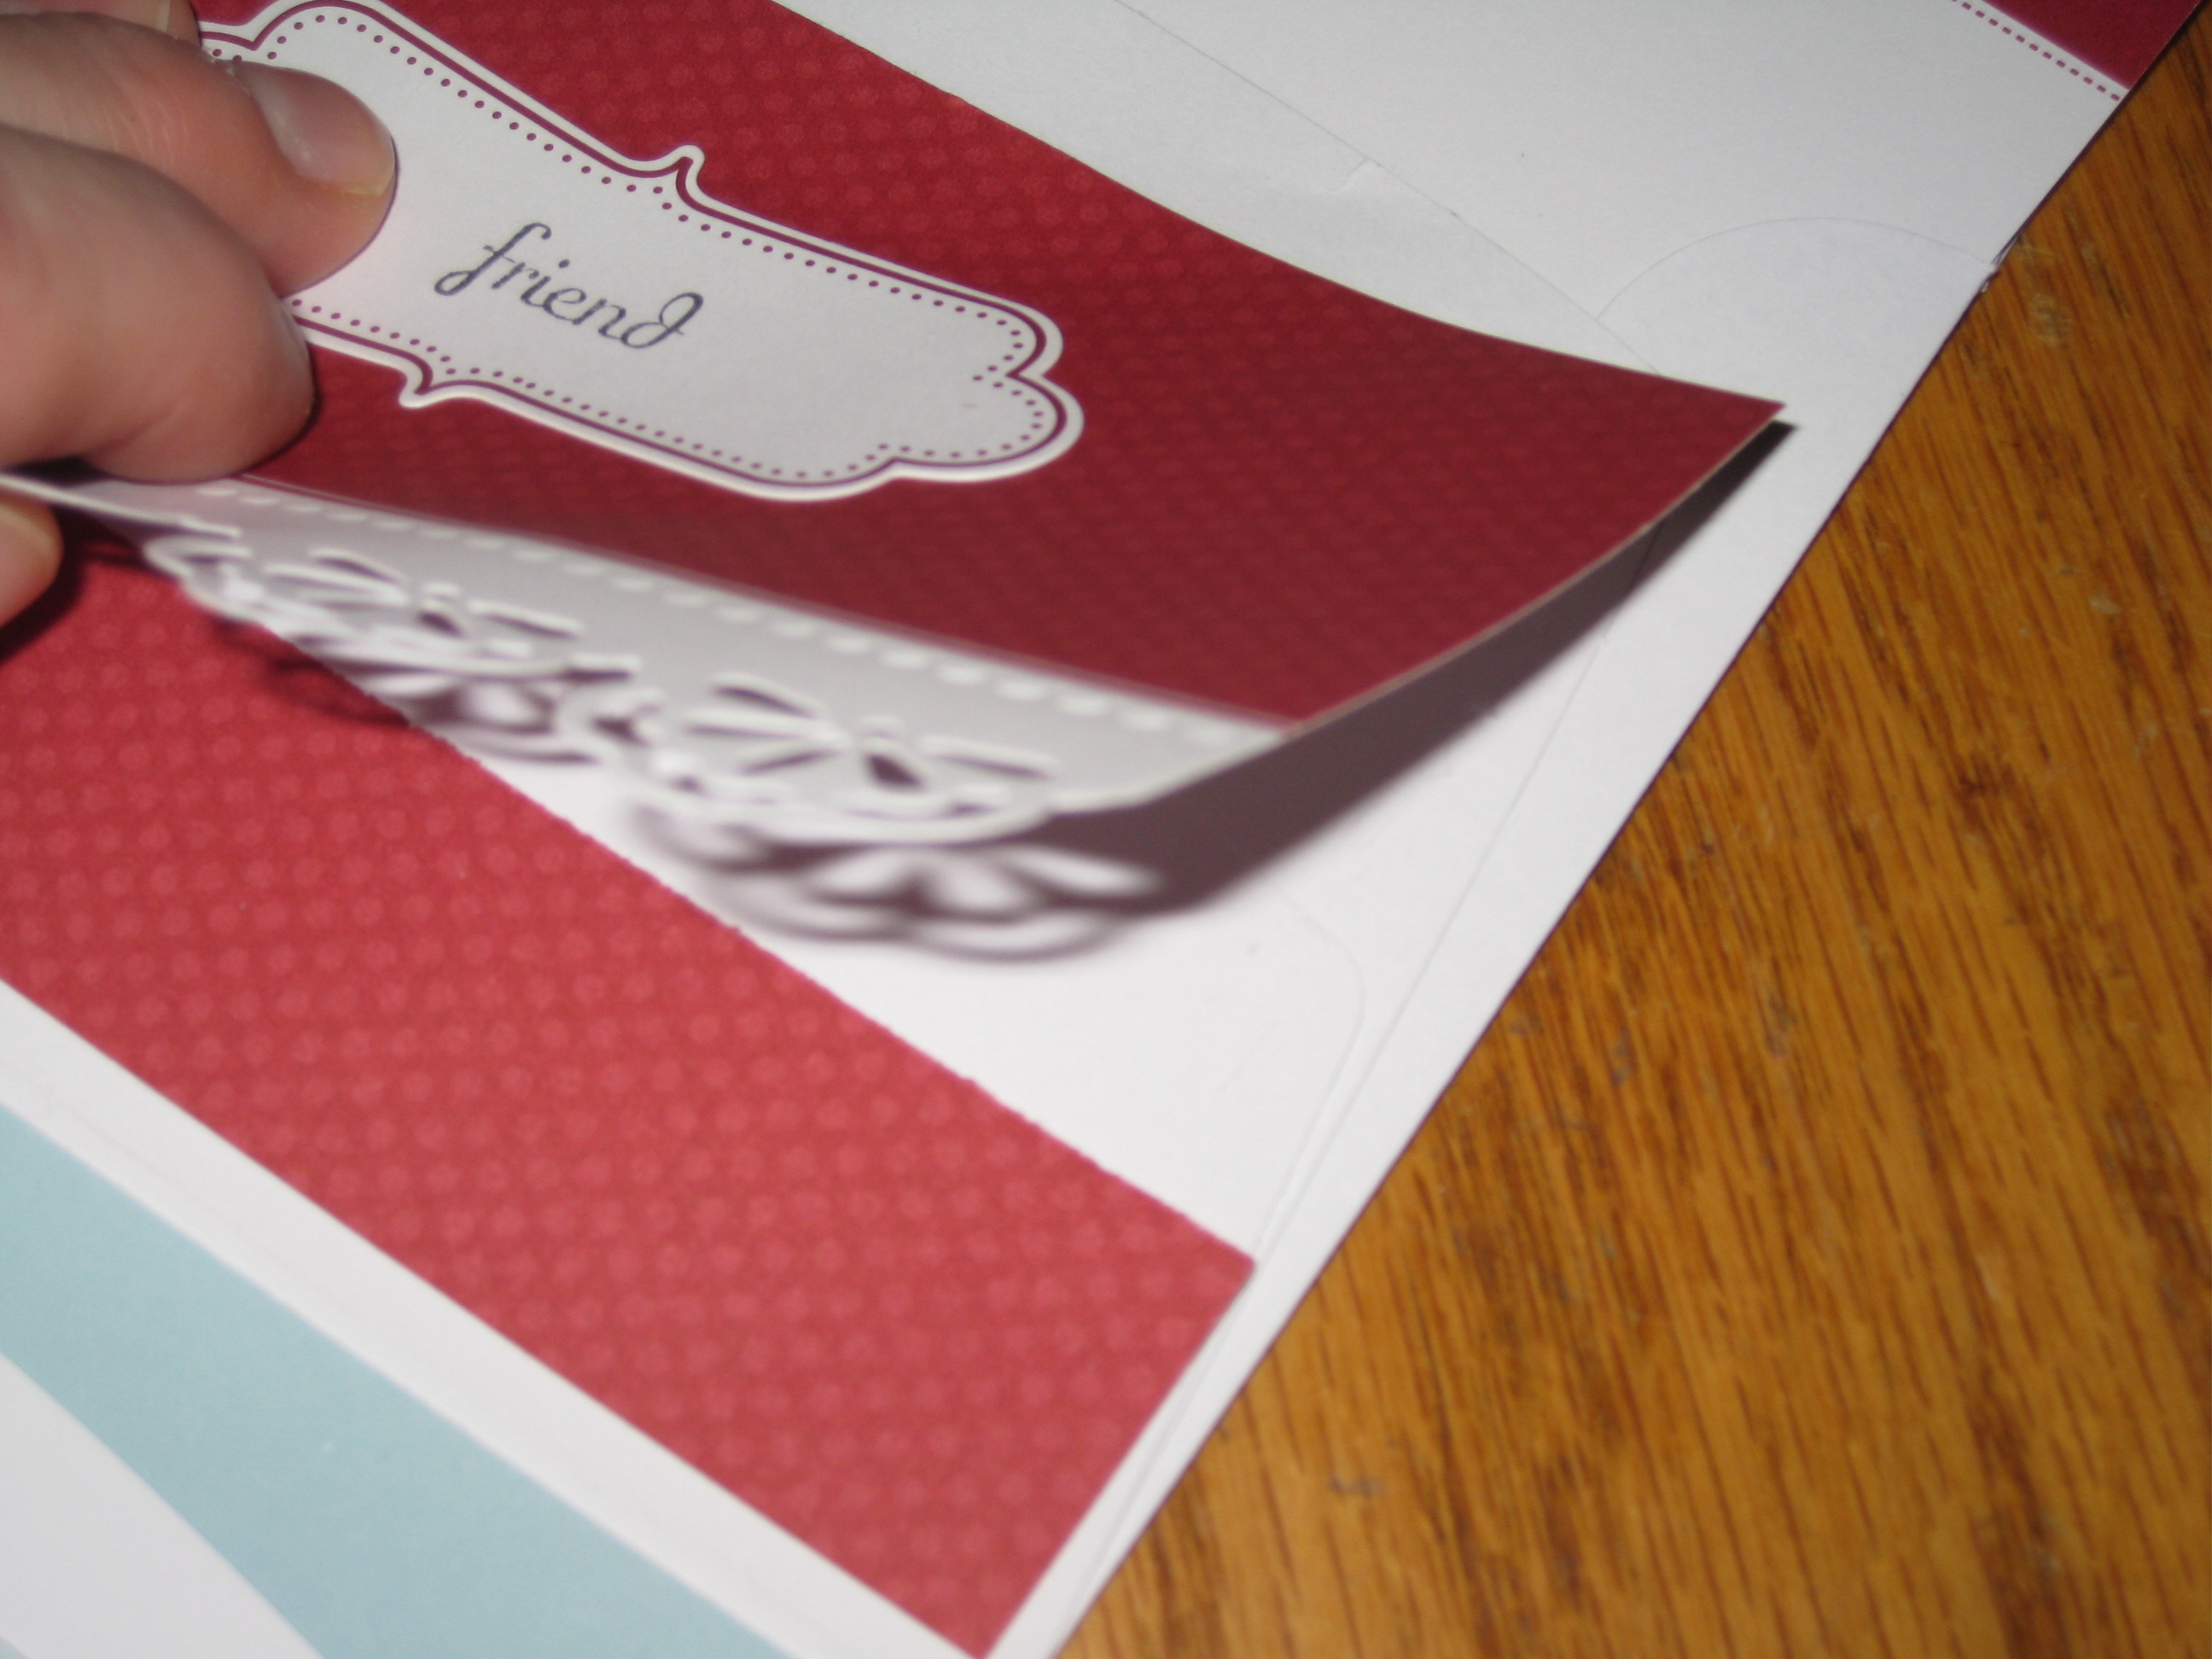
Attach your 3 envelopes together – flap on top. Cut the top 1 inch off your card front and adhere to the bottom of the envy, with the other piece on top, overlapping slightly.

Add stamped die cut panels (Fabulous Phrases) to the top.

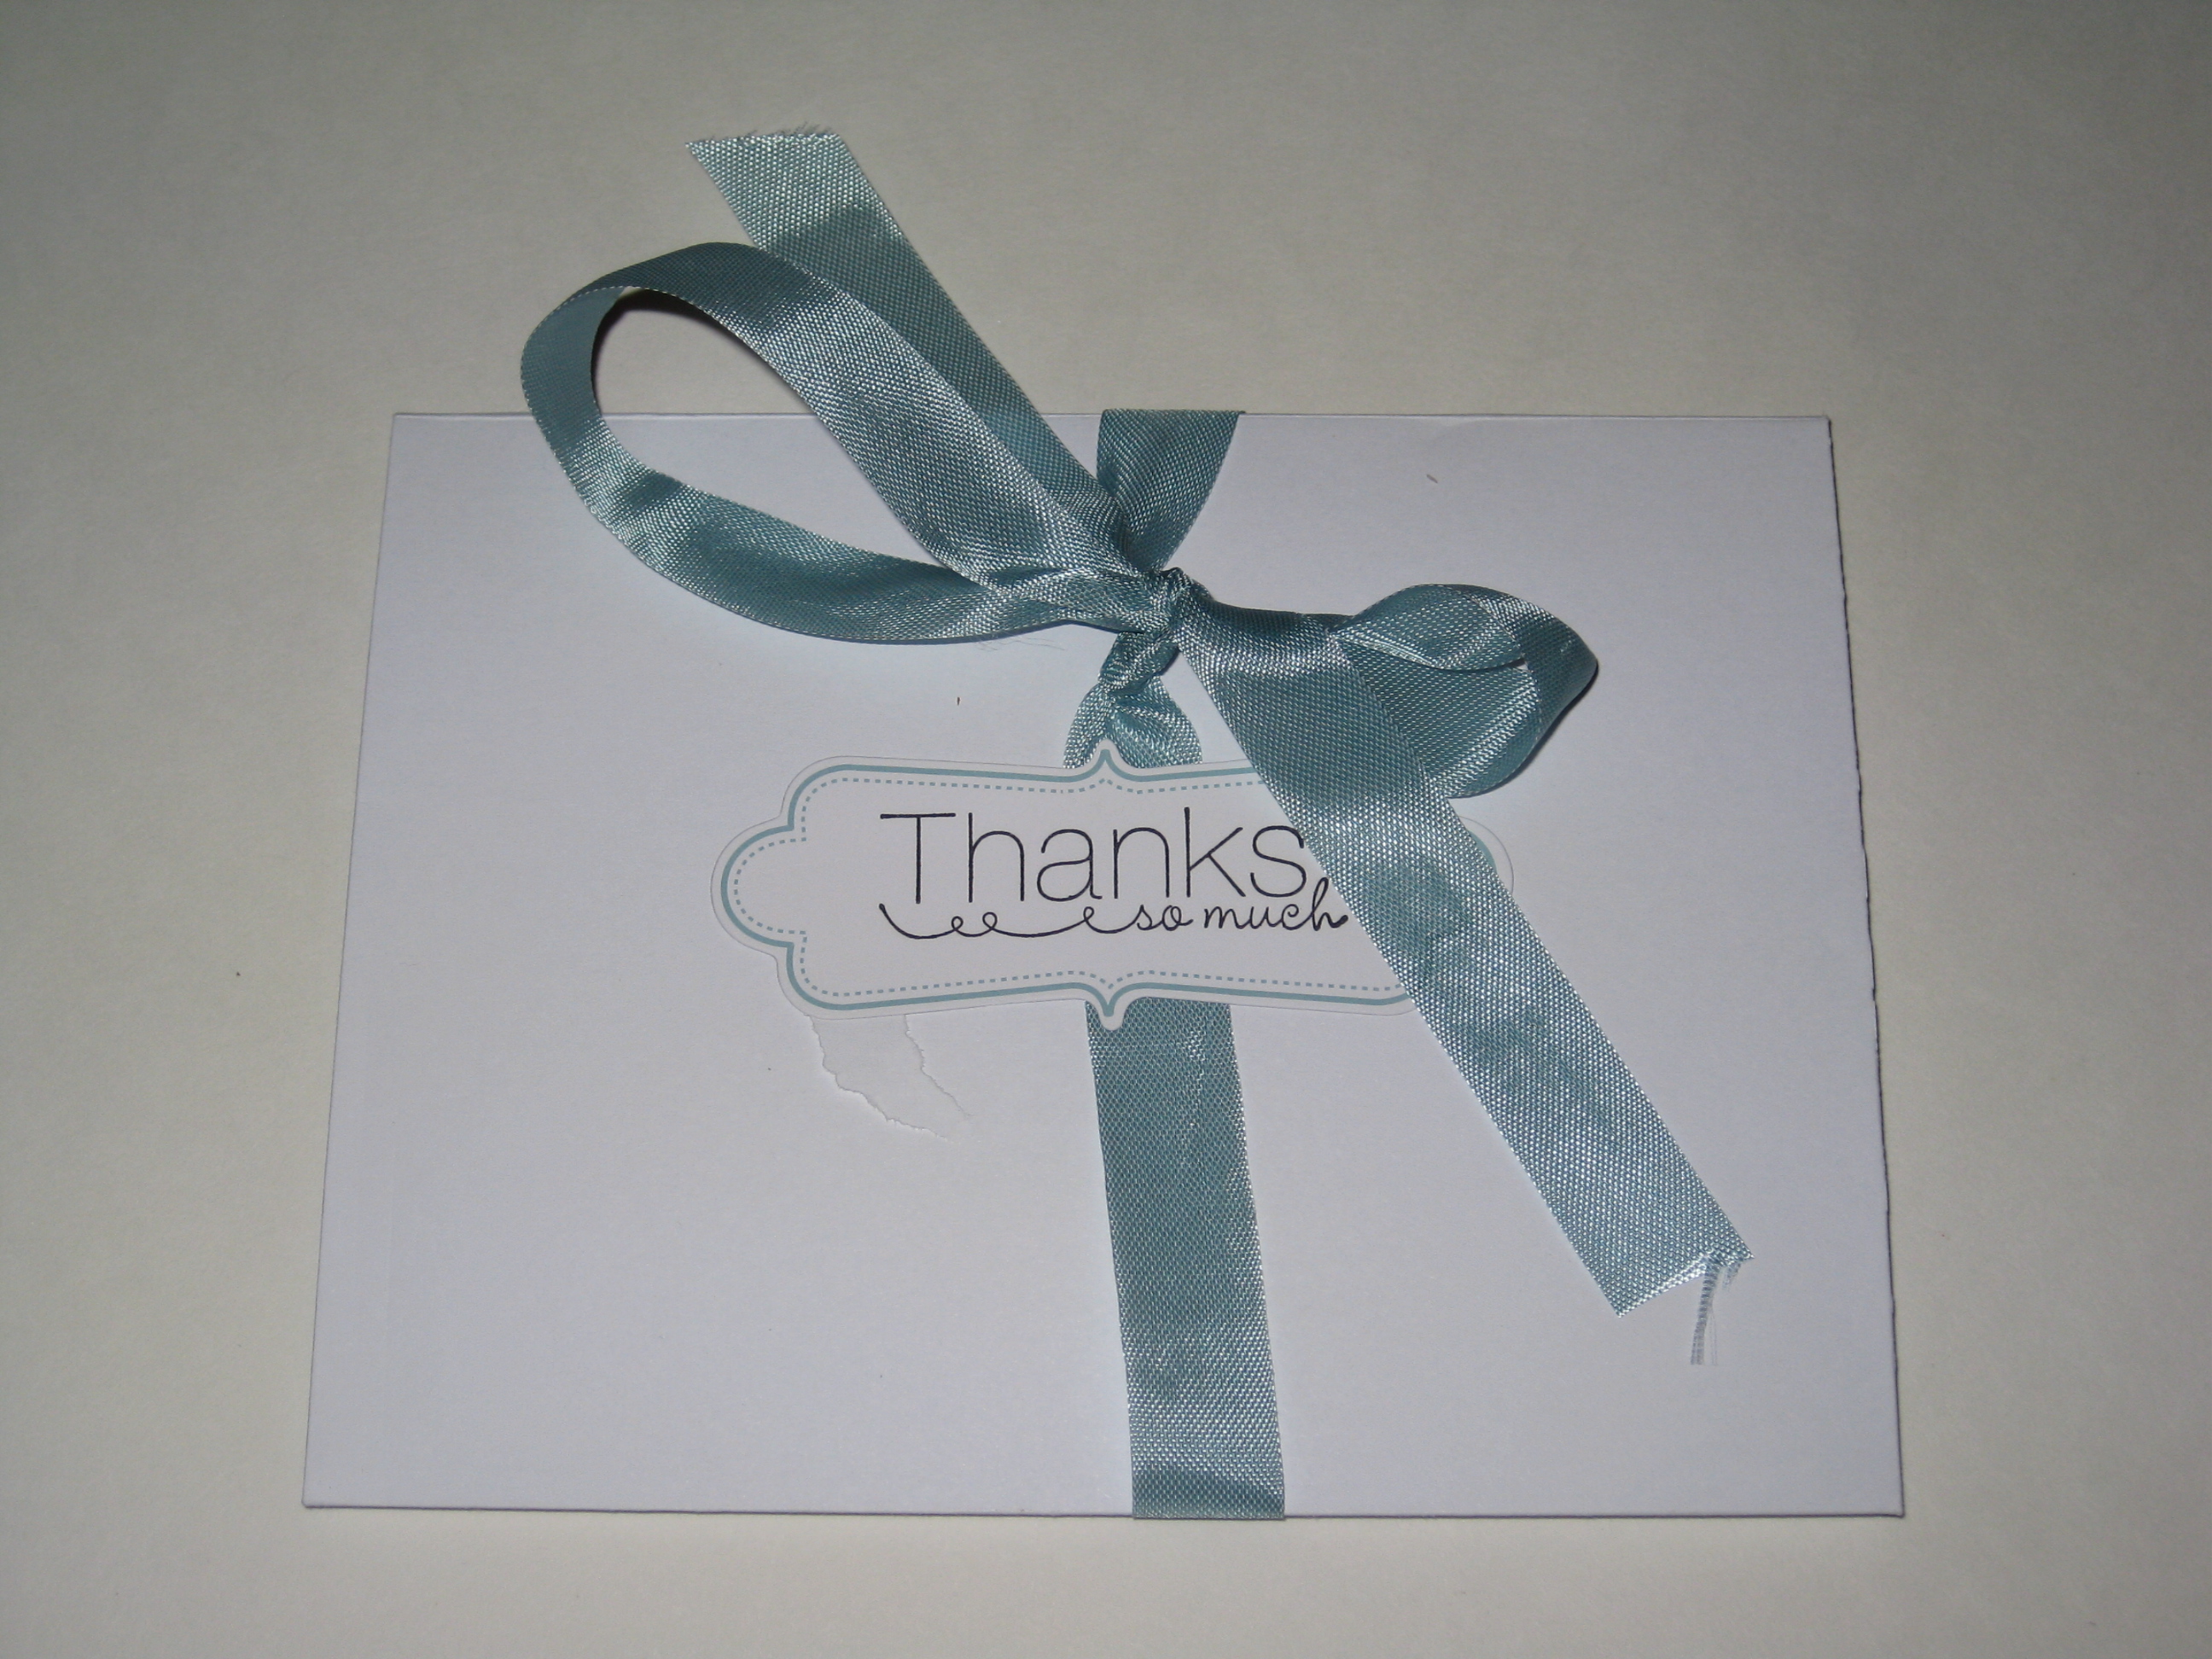
Add a 4th die cut (the kit has extras) to the folded album over Baja Breeze Seam Binding and tie.
The Everyday Elegance Simply Sent Kit (#127712) is FREE during Sale-a-Bration with a $50 purchase at www.kwstamps.stampinup.net
1 Comment »
RSS feed for comments on this post.
Leave a comment
Line and paragraph breaks automatic, e-mail address never displayed, HTML allowed: <a href="" title=""> <abbr title=""> <acronym title=""> <b> <blockquote cite=""> <cite> <code> <del datetime=""> <em> <i> <q cite=""> <s> <strike> <strong>
February 5th, 2012 @ 9:53 am
Awesome directions, thanks so much.
(bb&kk)