Refillable Sweet Treats Tutorial
When I went to play with my new Sweet Centers stamp set ( p. 6 Holiday Minicatalog), there were no treats to be found in my house! I had to come up with a way to make the treat cards re-usable, so I could fill them at a later time. An added bonus: the recipient would not have to destroy the card to get at the treats!
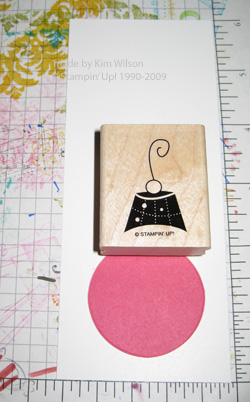
1. Determine the size of your front panel and mat. Here I used a 1 3/4″ punched out circle to help measure. My Whisper White panel is 2 1/2″ by 3 1/2″ and my Real Red mat is 2 3/4 by 3 3/4″. On the cards that I submitted to SU, my panels were the entire length of the card (5 1/2″), which gives you room for a sentiment to be stamped right onto the Whisper White CS. (The piece pictured was trimmed so that the ornament hook went at the top edge).
2. Stamp your Whisper White Panel.
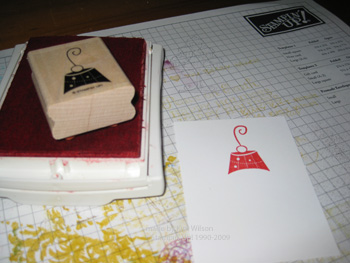
3. Adhere your Whisper White stamped piece to the Real Red mat. Punch out a circle with the 1 3/4″ circle punch. You can see a bit of your stamped image, so it is easy to line up.
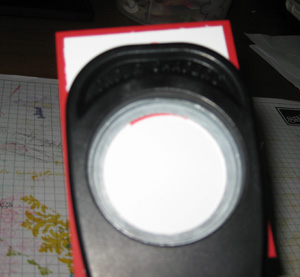
4. If you wish to place your Sweet Treat Cup near the top or bottom of your card, you can just punch the front of the card with the 1 3/4 inch punch and line up your mat with it. However, in this case I wanted my circle to be more in the center of the card, so I used the Big Shot Movers and Shapers die and Holiday Windows (p. 7 of Holiday Minicatalog). I placed my mat right over the die to get it into the right place, then removed the mat before I ran my card through the Big Shot.
5. Still not adhering my mat, I used it to determine where to stamp my greeting (Four the Holidays, p. 19) on the card. Any stamping on the card should be done at this point, before it gets lumpy:)

6. Remove the adhesive tape and adhere your Sweet Treat Cup to the FRONT of the card. It is easy to center if you look at it from the inside.
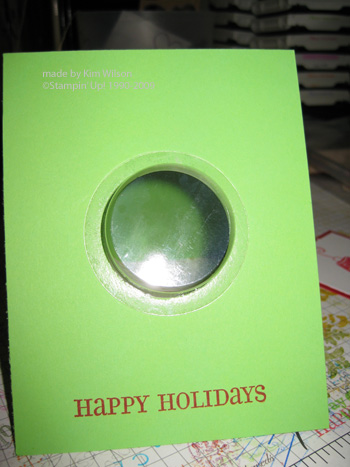
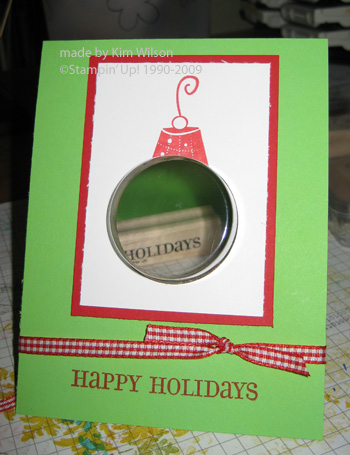
7. Adhere your mat over top of the Sweet Treat Cup and add some ribbon if desired. Your front is done. Now to make the card RE-USABLE and RE-FILLABLE.
8. You will be making an inside pocket with the same color CS that covers half of the treat cup. If your cup is near the top or the bottom, a 4 1/4 by 4 1/4″ square is the right size (it may need to be trimmed slightly). In this case, since my cup was more towards the center, my pocket ended up as 4 1/4 by 3″. I could have placed the pocket at either side of the card, but I choose to cover the ribbon to make it more secure. The important thing here is to only place your adhesive at the 3 edges – remember, you are making a pocket. I found that covering half the cup gave the best security, yet still allows for easy filling. Then add your treats!
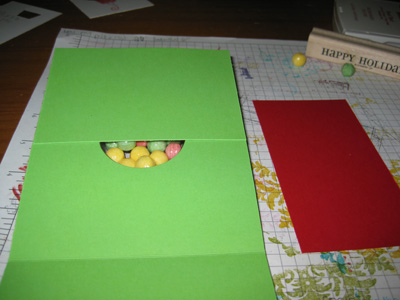
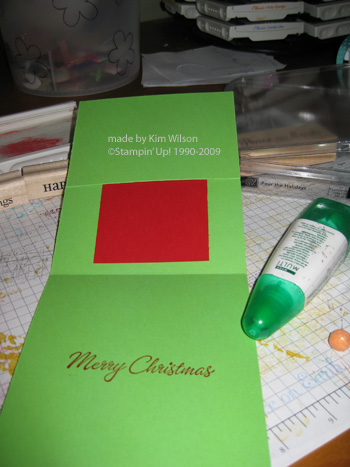
9. Cut a 4 3/4 x 2 1/2″ piece of a contrasting color CS (Real Red here) to insert into the pocket. This should be our heavy SU cardstock, so that the treats don’t escape:) The tab is not adhered at all – it should be completely removeable. Here is the inside of the finished card:
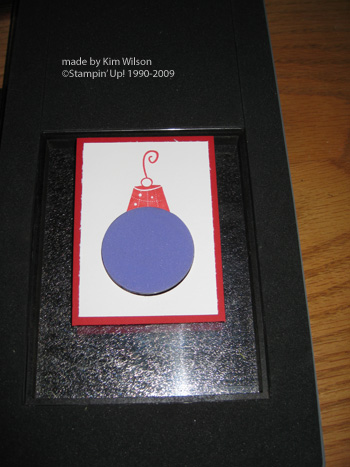
Here is the outside of the finished card:
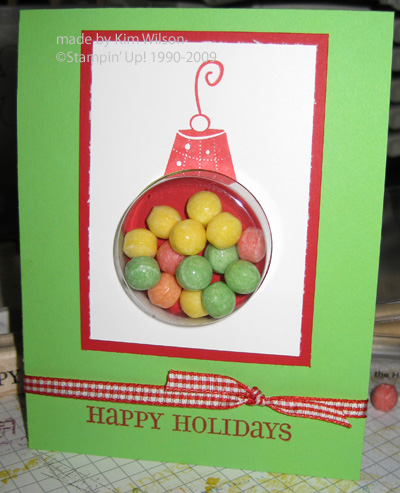
It seems like a lot of steps, but these cards really are quick once you try one. And the extra pocket and tab are worth the effort so that your hard work is not destroyed in minutes:)
Remember, you can purchase all of the supplies pictured here at my website at www.kwstamps.stampinup.net or contact me.
6 Comments »
RSS feed for comments on this post.
Leave a comment
Line and paragraph breaks automatic, e-mail address never displayed, HTML allowed: <a href="" title=""> <abbr title=""> <acronym title=""> <b> <blockquote cite=""> <cite> <code> <del datetime=""> <em> <i> <q cite=""> <s> <strike> <strong>
September 4th, 2009 @ 11:53 am
Great tutorial! Thank you for sharing
September 4th, 2009 @ 4:41 pm
You are a genius! That was easily understood and I look forward to applying the idea to my cards. Thanks!
September 5th, 2009 @ 9:07 am
I am going to try this pattern this morning. Now…if the card is refillable, do we need to give the recipient the leftover bag of candy? If so, my fav is peanut butter M & Ms!
September 5th, 2009 @ 9:07 am
This was my concern when I first saw this set..people will destroy the card to get to the candy. What a great solution! Thanks!
September 7th, 2009 @ 10:04 pm
What a great idea and a fantastic tutorial. I wondered if something like this could be done to save the card. Thanks for coming up with this and sharing!
September 15th, 2009 @ 12:14 pm
I tried this and it turned out GREAT!! thank you!! 🙂